Written By: Abigail O’Keefe
As hospitality brands move beyond screen and surface-level identities, designers are embracing physical space, atmosphere, and escapism to create experiences that can’t be replicated. See how Graphic Designer Jaime Sullivan uses this to stay in the game and keep her clients on top.
In a world shaped by Artificial Intelligence and the demand for immediate results, many companies turn to automated generators instead of designers. Logos have become just logos, and brands just brands. Jaime Sullivan, Graphic Designer and owner of Greater Than, pushes back against this mindset. Rather than creating surface-level identities, she builds immersive brand experiences that transform how people feel in a space.
Imagine you’re on vacation on Cape Cod. You spend your days exploring, dining out, and soaking in the atmosphere. But when you return to your hotel, something feels off. The room is bland, the lobby is uninspired, and suddenly the magic of vacation fades. Jaime aims to eliminate that disconnect. Through what she calls “ Transcendental Design,” she transforms hotels and restaurants by giving them complete transformations that feel like destinations themselves.
Jaime earned her degree in Graphic Design at Middlesex College and has been designing professionally for about 25 years. In her early designing years, she worked in marketing and sales design for a mortgage company before moving to a packaging company specializing in white-label and private-label products. There, she gained hands-on experience working with multiple brands and learned how to design beyond the flat surface, considering how visuals wrap, fold, and exist in a dimensional space.
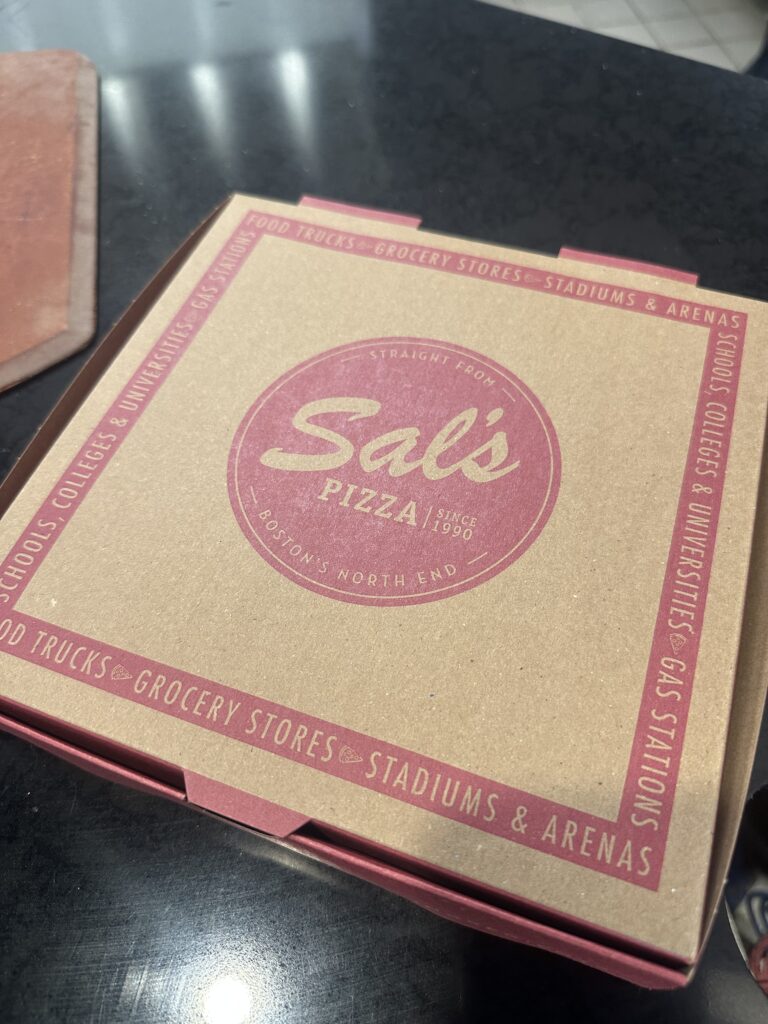
(Photo: Abigail O’Keefe)
Alt: Pizza box sitting on the counter, close-up view.
At the packaging company, Jaime worked with brands such as T.J. Maxx, Tahari Home, Tommy Bahama, and BJ’s Wholesale, creating their private-label product lines. This experience pushed her further into retail and environmental design. After rebranding Sal’s Pizza, she was asked by Lapoil Company to design the interior for their Shops. Despite not being an interior designer, she took on the challenge, proving that graphic design thinking could successfully turn into a physical space.
Though she has had her own Graphic Design business for years, Jaime’s work for the past eight years has evolved into what she defines as Transcedental Design, “a space-oriented, escapism-driven, through graphic design, and how that influences the whole project, it’s big picture thinking. It gets people out of just thinking about the logo, because that’s where branding is leading.” Working closely with hotel and restaurant owners, Jaime has taken the idea of taking the brand off the screen and into a built environment.
As a creative, there are multiple steps that you need to take to get from point A to point B. In hospitality, the space is what is most important. “I focus on the space first,” she says, “because it is their largest asset, and where they are spending and investing the most. So the brand and the story need to lead the design, but at the end of the day, the space is what costs the most, so it’s about making sure those two things are harmonious and work together.”
When asked if color was an important factor leading into the brand, she responded that “Color is probably the most efficient driver of how a brand feels,” noting that different palettes communicate different price points and experiences. A playful, energetic color scheme can signal accessibility, while rich tones paired with tactile materials, like gold foil, mixed metals, wood, and embossing, can elevate a brand’s perceived luxury.
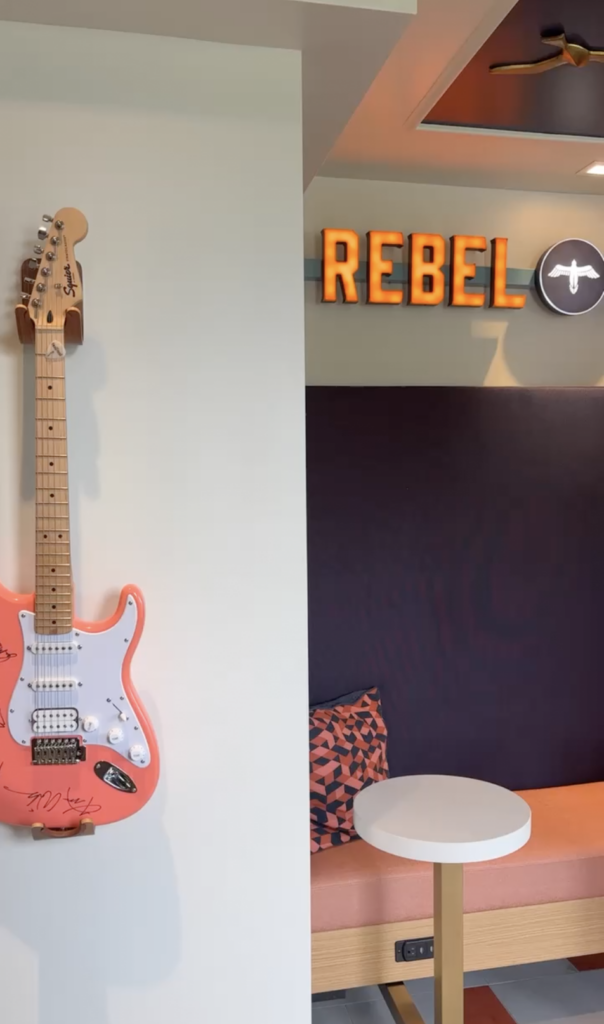
(Photo: Abigail O’Keefe )
Alt: Pink guitar mounted on the wall, with a coffee bench to the right and a glowing light-up sign above it.
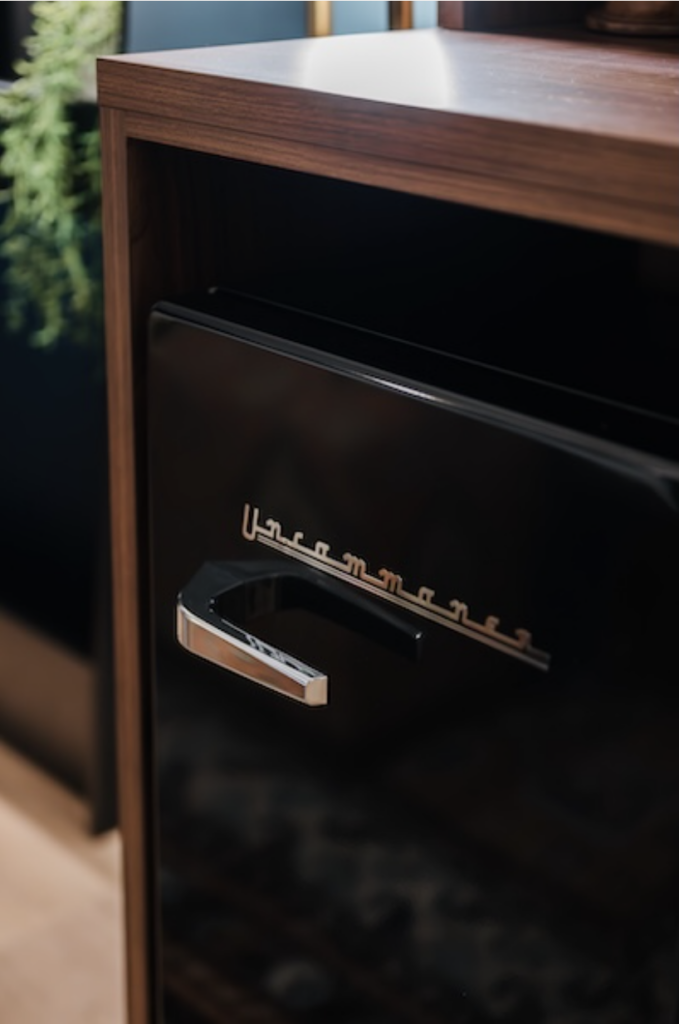
Jaime’s first major hospitality project was Freebird Motor Lodge in Cape Cod, where she transformed a rundown motel into a retro, 1970s-music-inspired destination. With a bold color palette and intentional storytelling, Freebird became a place guests want to come back to for more.
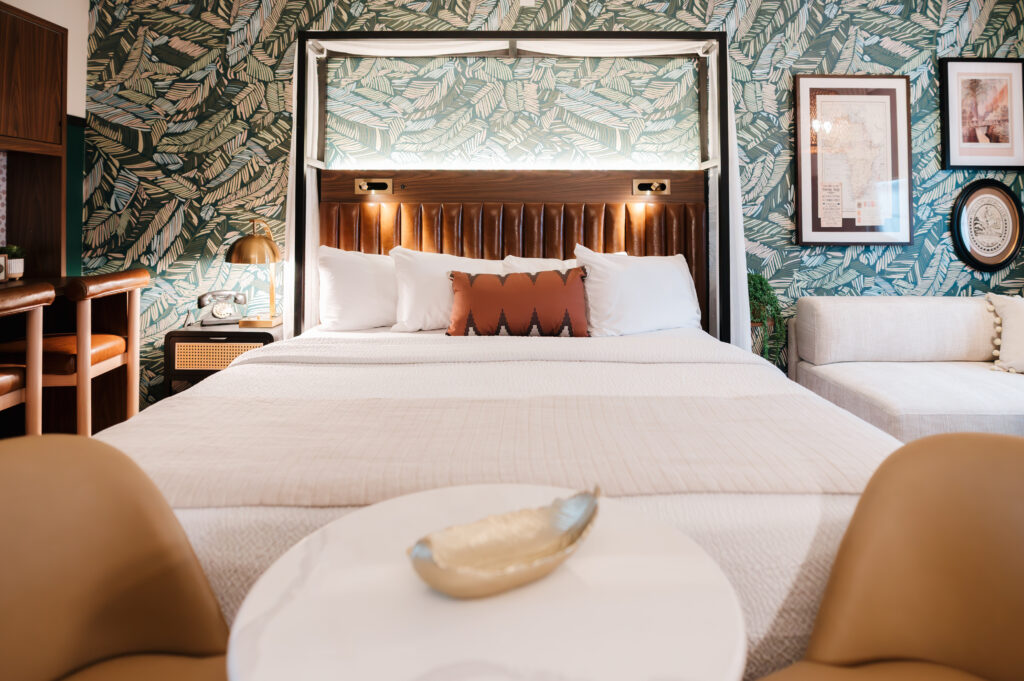
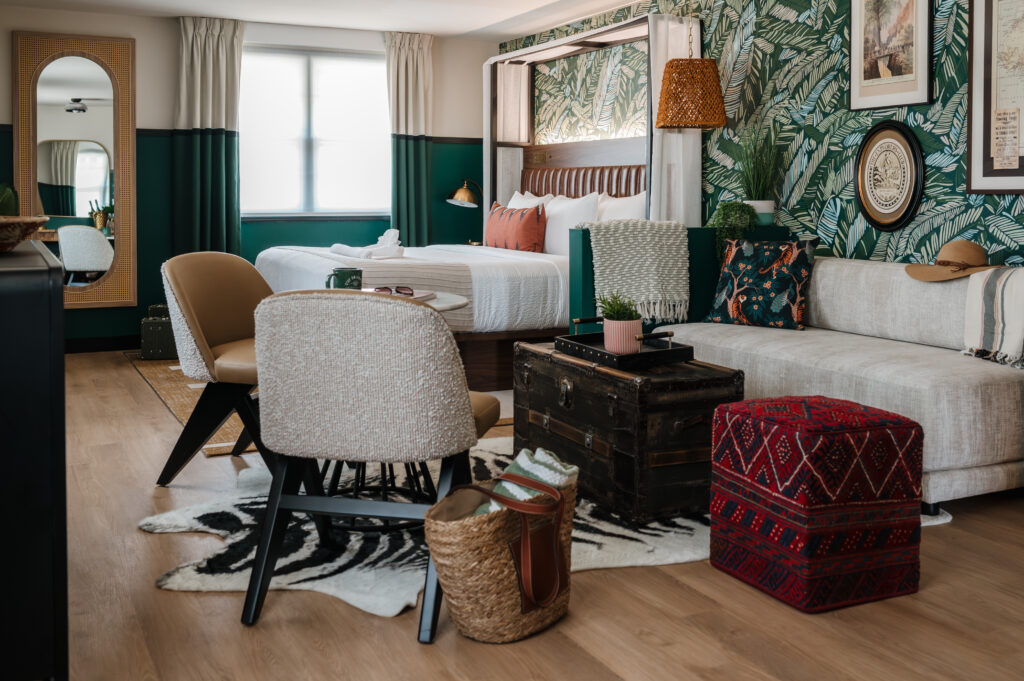
Jaime’s most recent work, Uncommoner Hotel in Yarmouth, Massachusetts (formerly the Tidewater Inn), opened this spring as Freebird’s sister property. Inspired by 1930s Versailles rather than traditional Cape Cod imagery, Uncommoner offers a dramatic departure from seashell and pastel blues. “It’s how the guest experience is shaped by what’s around them and what they are doing,” Jaime says, “it’s not so much about seeing a brand and thinking, ‘oh, that’s cool,’ and then you forget about it; that brand actually shapes an experience for them.”
One standout example of this type of design is in Gypsie Soul, the restaurant at Uncommoner, which has its own esoteric vibe rooted in tarot cards, tea leaves, and astrology. Rather than designing a flat wall graphic, Jiame created an immersive installation using mounted tea cups on top of coasters and filled with gold flakes, turning a brand element into a tactile storytelling moment. “Now it’s tying back to the brand story, but it’s through an immersive interactive wall installation. And that’s how it weaves through. It’s the extra details that help the storytelling of the brand.” Jaimes states.
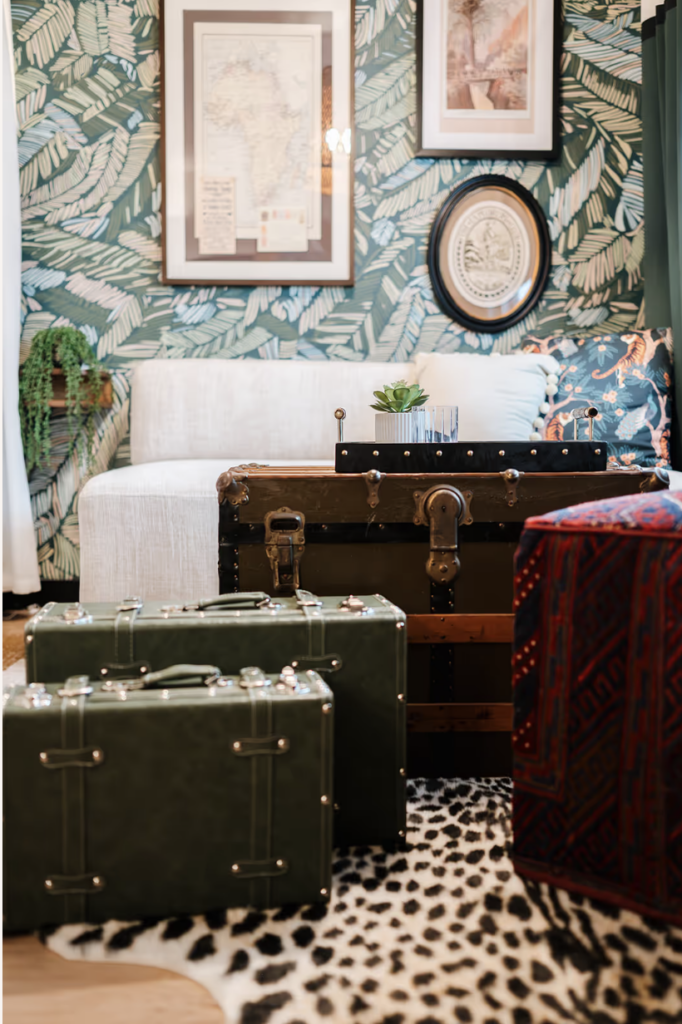
At Uncommoner, there are four room blocks. Jaime and the team had to brainstorm how they were going to create a story from this beautiful space. “We tried to figure out how we could tie the four room blocks together through the brand story, and it ended up being that we created four characters, four uncommoners that tap into the personalities of the guest.” The characters at Uncommoner consist of themes: The Voyager, The Madame, The Explorer, and The Moroccan. Each room has its own personality reflecting the characters and includes small details for the guest to connect and experience. “For the consumer, it makes it interesting because it will make them want to go back and experience the other rooms. They can come back for four whole years, and it becomes a different experience through the different rooms.” What is used as a creative narrative for the guest is also being used as an effective marketing strategy for the hotel. Win, win.
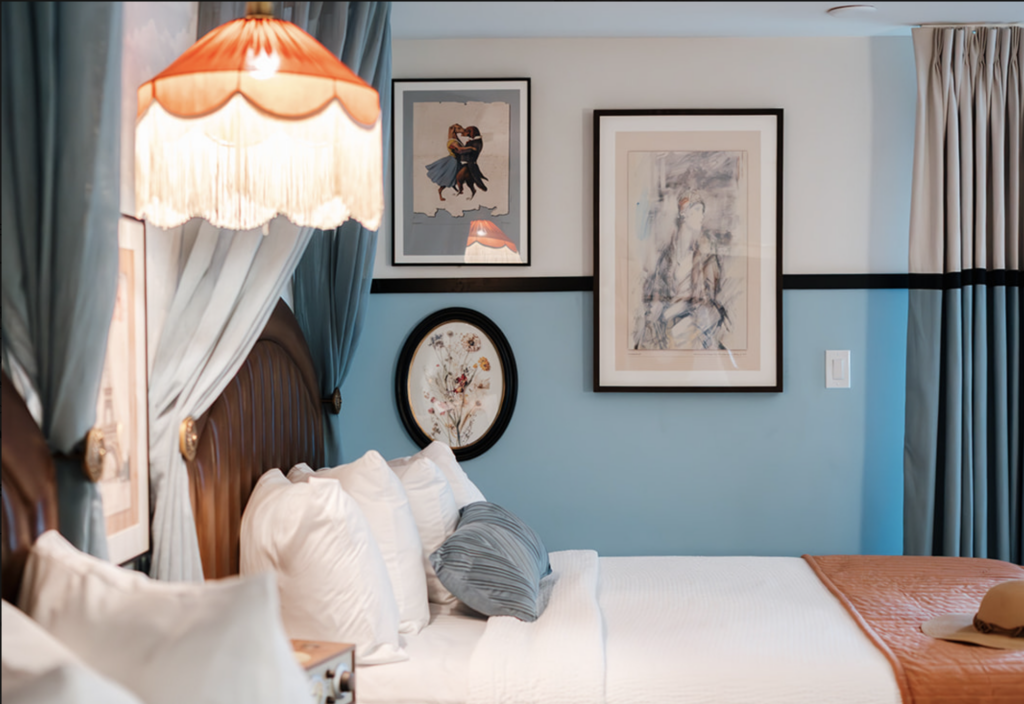
(photo: Marissa Conely)
Alt: White bed set against a light blue wall, with a hanging lamp and soft drapes above the headboard.
As Jaime leads into other projects, she notes that not all her projects can have that total escapism. Lore, a multi-family complex in Salem, Massachusetts, “pays homage to the history and maritime background and the witch trials, but not too overpowering; it’s more abstracted, but people get it. There’s a speakeasy that’s a little spooky that’s in their own home, but it isn’t in their actual home. We had fun with the amenities.” Shared spaces, like a speakeasy-style amenity area, offer atmosphere while individual units remain neutral, allowing residents to make the space their own.
With a lot of experience, Jaime sees the future of design. “Built spaces aren’t going anywhere; those are forever,” she says, “how can you take your profession now (graphics design) and capitalize on it? Not just a digital landscape but a physical one.”
As an aspiring graphic designer myself, I find her insights both grounding and inspiring. In an era dominated by AI tools and instant logos, Jiame’s work proves that unforgettable branding isn’t about speed; it’s about depth. “When you can try to really position it so that your brand is more than just this little piece, and it’s actually all these little things combined with that little piece. Your sell is that much more, because they (Canva or other AI logos) can’t do that.”
In this day and age, as a designer, it’s hard to market yourself and compete with AI. But by using design techniques that help enhance your design beyond the screen and bring it to life, designers can offer something automation can not. Jaime is now building on that belief by launching a separate branch of her studio dedicated specifically to boutique hospitality and transcendental design, aptly named Elsewhere. The venture reflects her commitment to creating spaces that transport people beyond the ordinary, proving that when design becomes an experience, it can never be replaced by a template or an algorithm.
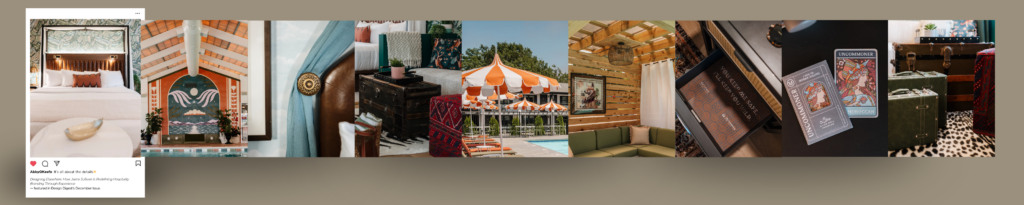
Social Media Post 1 – Carousel of Detailed Images
Caption:
It’s all about the details✨
Designing Elsewhere: How Jaime Sullivan Is Redefining Hospitality Branding Through Experience — featured in Design Digest’s December Issue
Social Media Post 2 – Magazine Cover Feature Promotion
Social Media Post 3 – Before and After with Trending Audio
Caption:
Boost your brand with Transcendental Design!
Check out the new article Designing Elsewhere: How Jaime Sullivan Is Redefining Hospitality Branding Through Experience in Designer Digest.
Video Credit: Abigail O’Keefe