From Ground to Cup- A Quick and Easy Guide to Growing and Drying Mint

By: Seth Batista

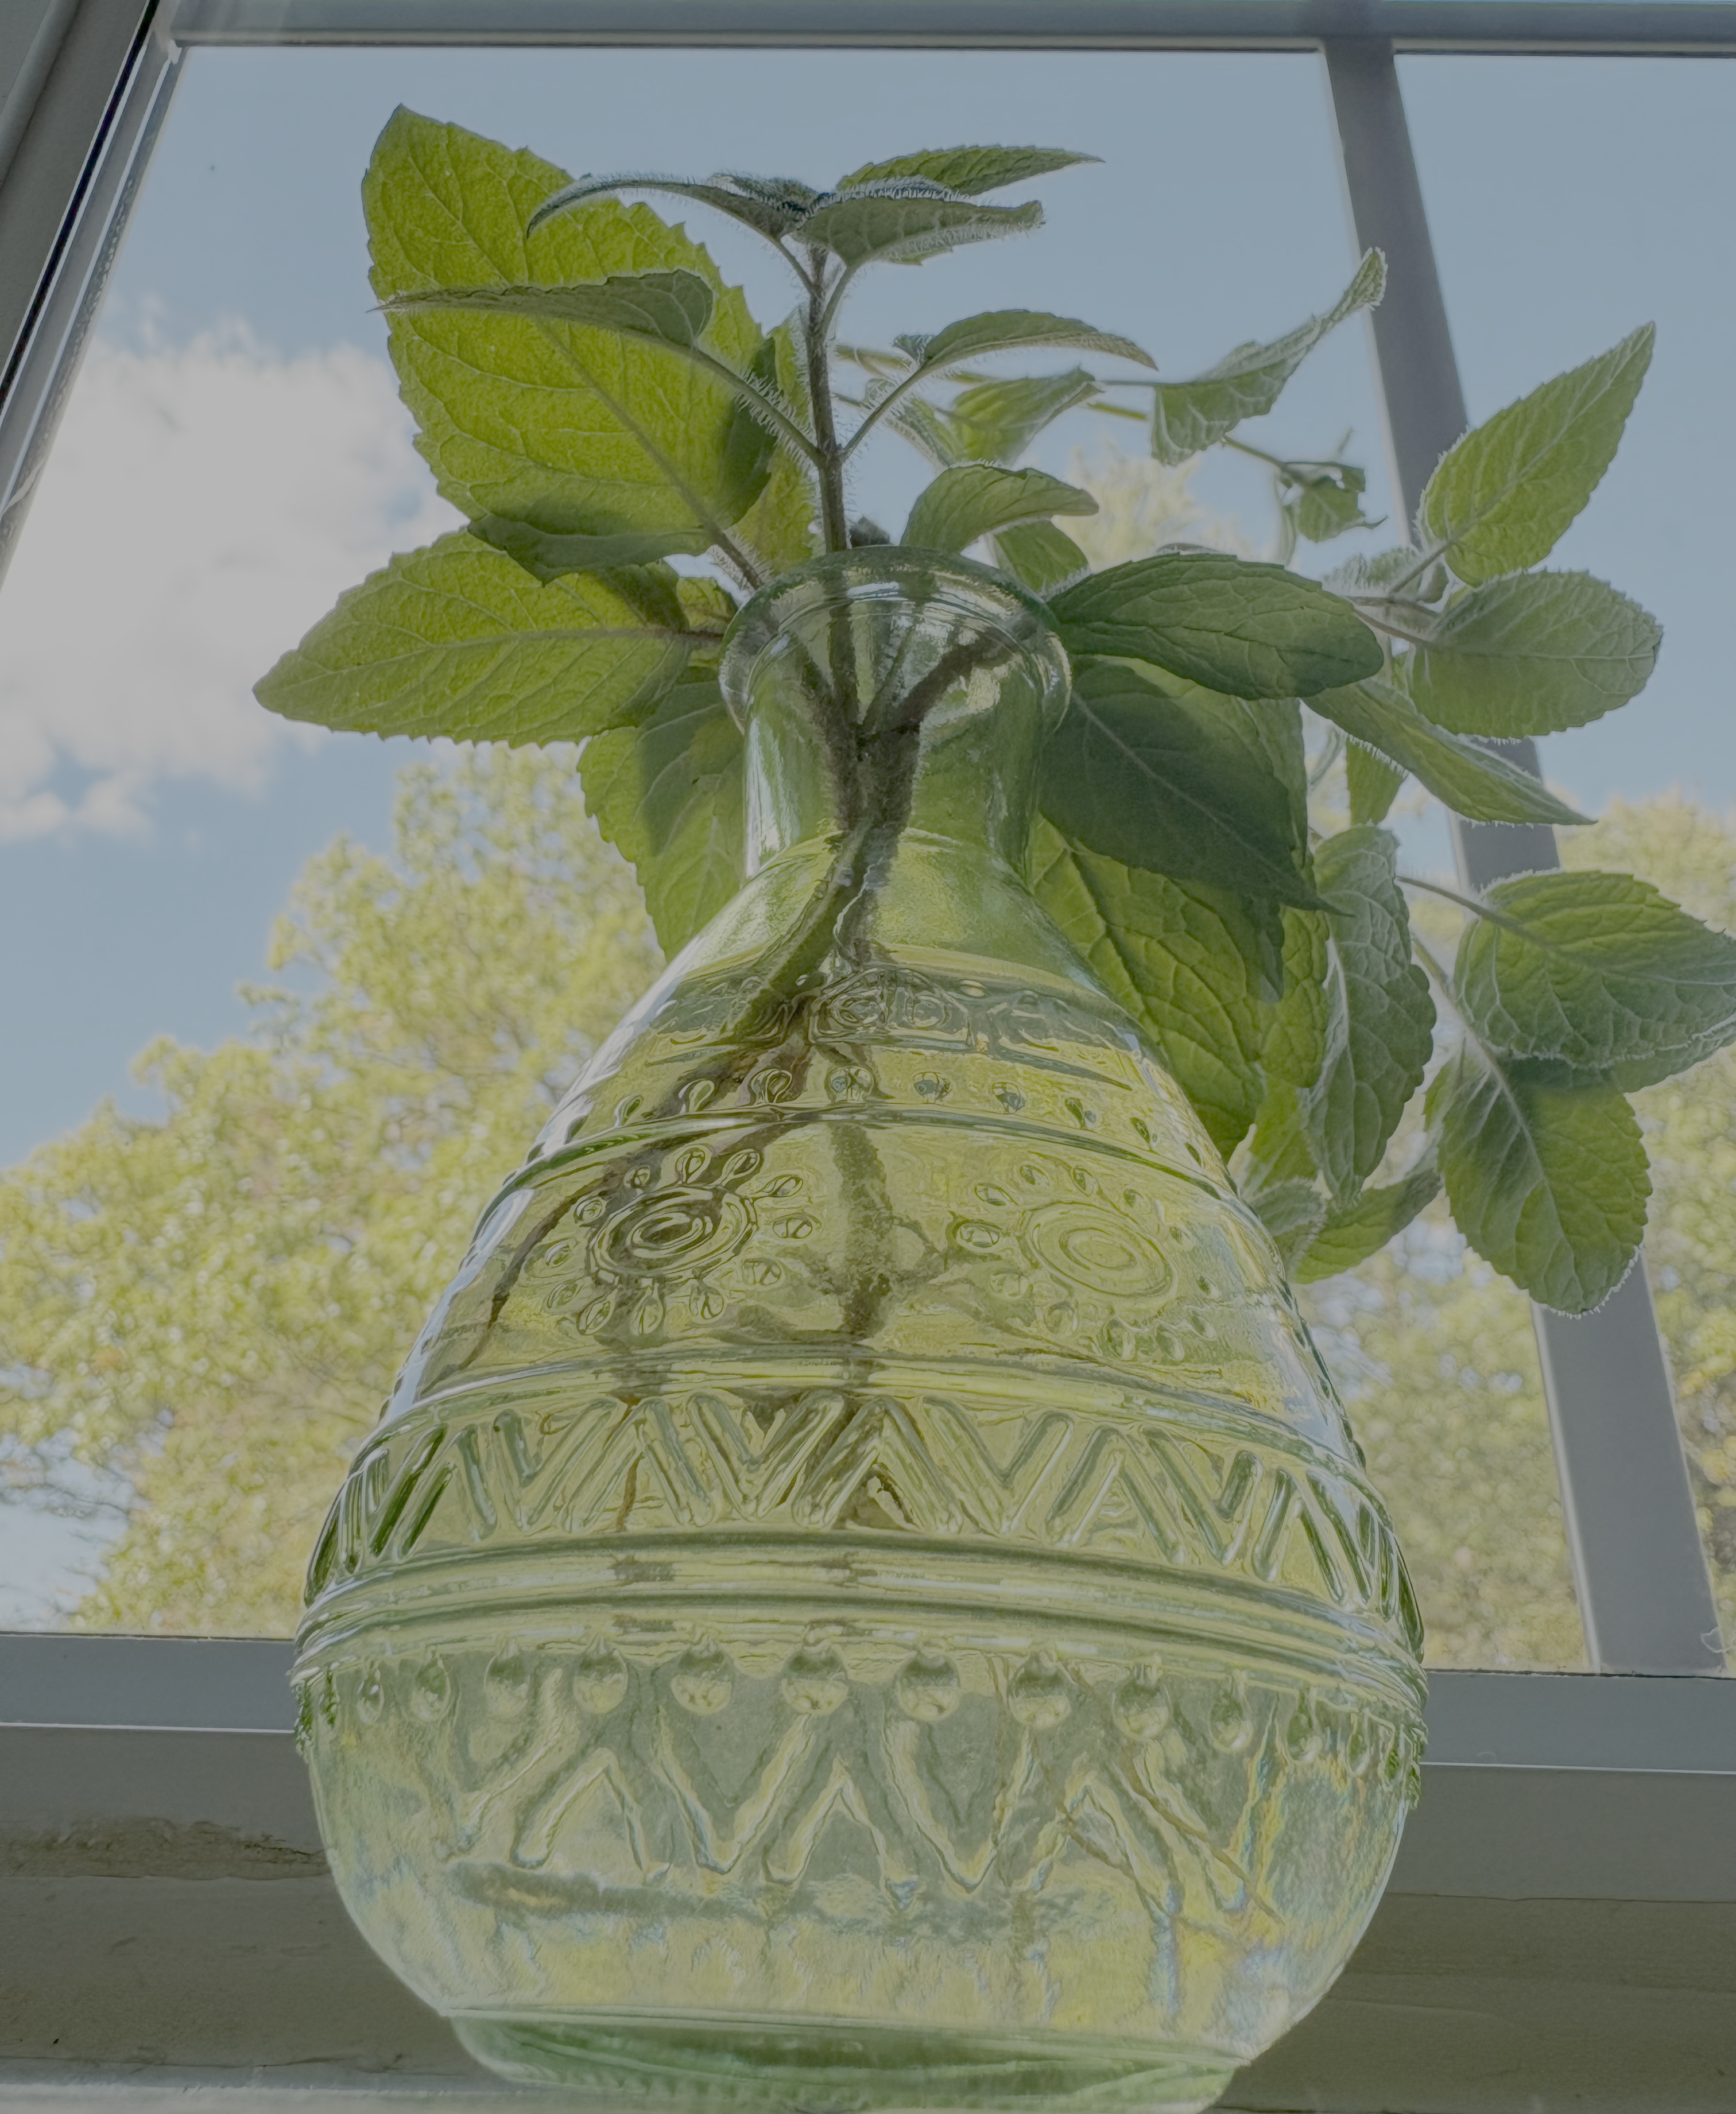
Mint (Mentha spp.) has over 19 different distinct different species (USF). Mint is one of the easiest and fast growing plants for beginners. Mint can quickly take over your garden, so in this post we will be discussing indoor mint plant care. Mint is also a perennial that produces new foliage all year long if the stems are not killed by frost (SAVY GARDENING). Mint is also a very hardy plant that can resist the cold very well. The typical temperature mint thrives in is 60-70 degrees.

source: Seth Batista

Propagation and Potting

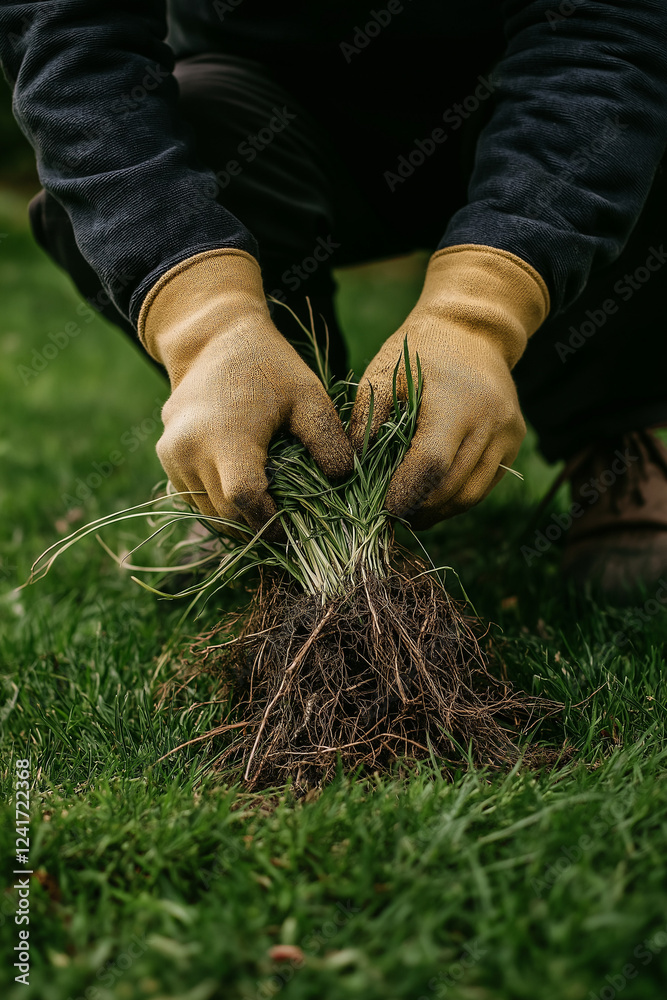
Propagating mint plants is very easy and enlightening. If you already have access to an outdoor mint plant you can dig a little section of the plant and repot it to bring it inside or you can collect a clipping and let it propagate in water for 3-4 days until roots start developing. (TraditionalCookingSchool)

If the roots are not yet developed on the fourth day, changing the water can aide in root development since it refreshes the oxygen in the water. Once the roots are developed, you can pot it. Since mint grows so quick, it must be placed in a pot at least 10″ in diameter. When choosing a pot make sure it has drainage holes in the bottom.

Source: Seth Batista

Routine Care

For my plants I typically use a diluted neem oil mixture that I spray every 2 weeks. Just double check proper usage of neem oil since it can harm the plant if improperly used. I use this as an eco-friendly version of pest-control for my plant. For routine watering, water the mint plant once or twice a week or when the first 1-2″ of soil is dry. Mint also thrives in bright, indirect sunlight.

This is neem oil mixture I love and use:

Drying and Brewing


Once the mint plant is thriving and there are enough leaves available; you can now dry them and make tea! There are other ways to use fresh mint and dried mint, but in this post I am focusing on brewing dried tea! You will need to pluck about 1/2 cup of mint leaves in order to brew a 6-8oz cup of tea. When you are ready to dry the mint, you could either tie bunches of mint and hang them in a warm, dry place that is out of direct sunlight. Or, you can place them in a dehydrator around 100 degrees for 1-4 hours.
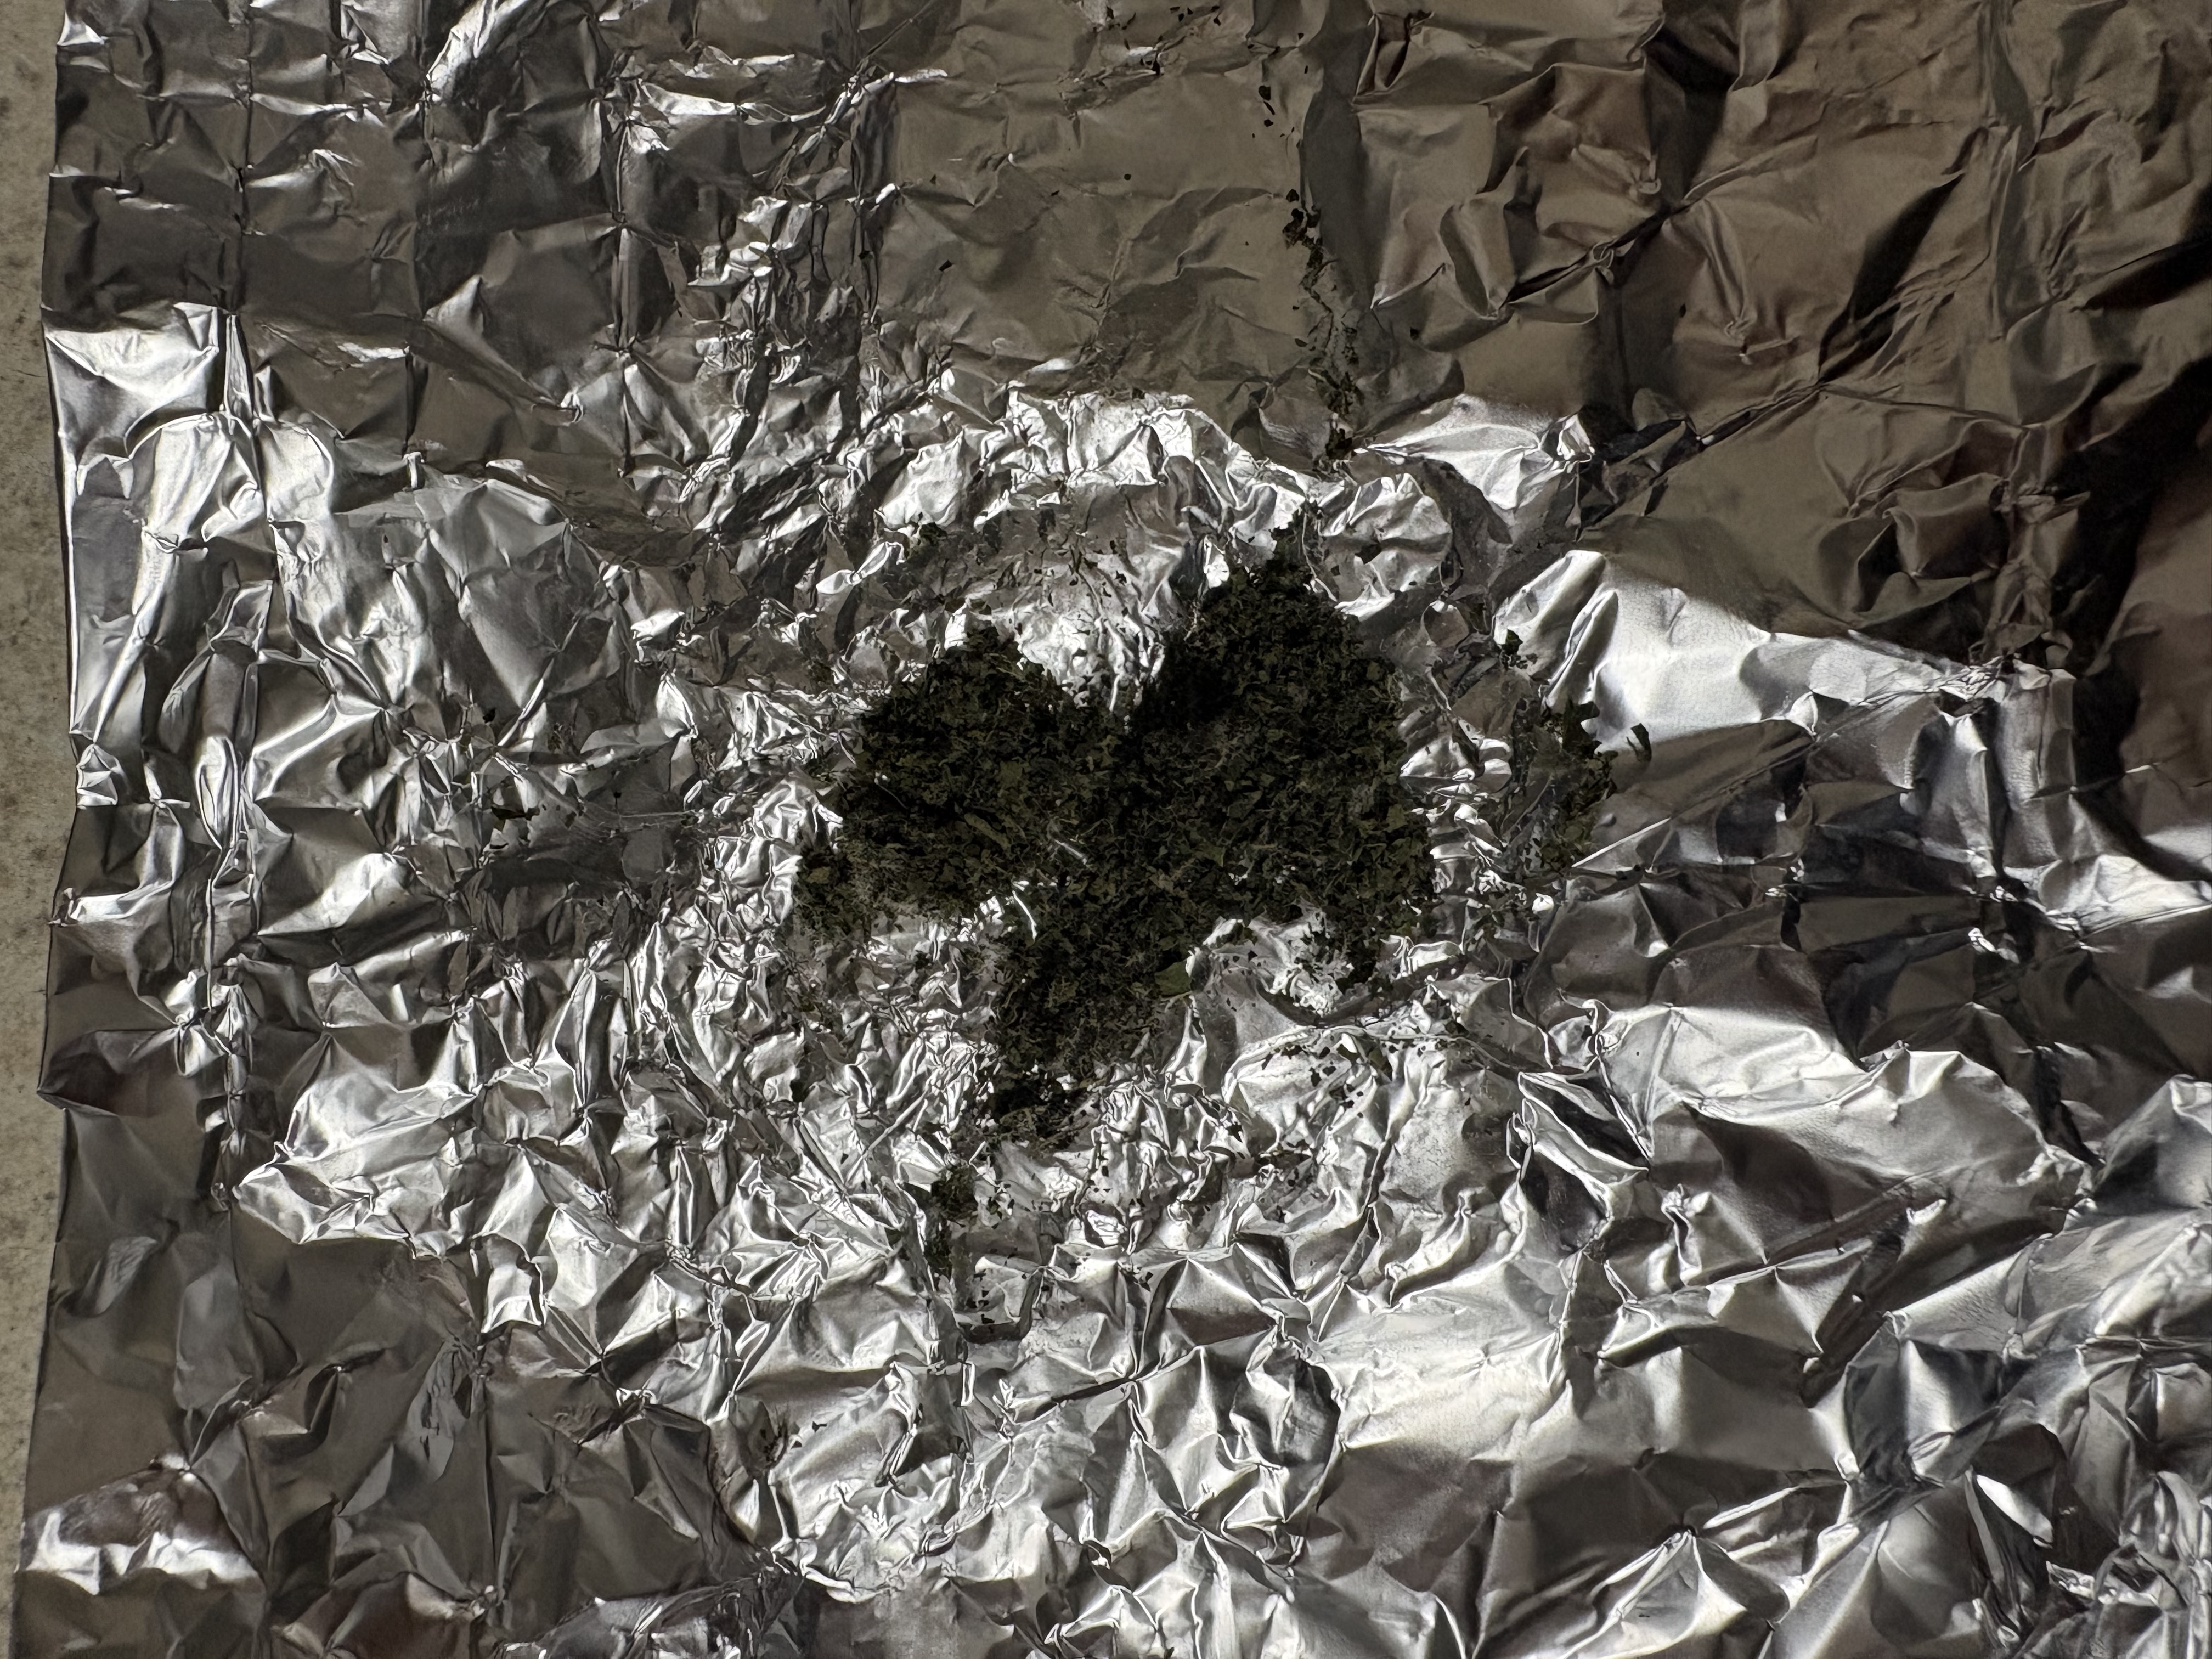
dried crushed mint

Source: Seth Batista

The way I chose to do it was placing them in the oven and setting it to the lowest temperature possible (150-200 degrees). After they are in the oven every 15-30 minutes flip the leaves to promote even drying; after 1-2 hours the leaves should be dry and brittle. You then crush the leaves or grind them up and place them and a tea bag to steep!

Foraging at Blueberry Edge

By Michaella Niceforo

Most summer weekends are spent at Silver Lake in NH with my family at my grandmother, Mimmie’s, lake house. Waterskiing, tubing, kayaking, lake sunsets, and campfire s’mores are just some of the many memories I make every year. One of my most memorable activities though is blueberry picking with two of my cousins, Nicholas and Teresa, at a little spot we like to call Blueberry Edge. At Blueberry Edge, located on one of Silver Lake’s several small islands, there are wild blueberry bushes that grow along the edge of the water. We always travel to Blueberry Edge on Nicholas’ little old rowboat that’s been in our family for many years. As we crash through the waves with our empty bucket, we look around at the beautiful scenery. Underneath the vibrant blue sky and the shining sun that reflects on the water, we observe all of the beautiful cottages lining the lake, and the White Mountains in the distance, surrounding us from all sides. 

Silver Lake from my Uncle Paul’s boat
Photo Credit: Michaella N.

As we come closer to Blueberry Edge, Teresa and I get out of the boat and make our way to the blueberries, carefully stepping on the rocks that cover the bottom of the shallow water. As Nicholas circles around the area in the boat waiting for us to finish our foraging, I can’t help but take a moment to admire the beautiful wild blueberry bushes and the hundreds of berries they supply. These blueberries are much smaller than what you would see in any supermarket, more precious. They are a natural part of the island, instilling in me a deeper sense of appreciation for all that nature has to offer. I start picking all of the blueberries I can find, delicately plucking them from the bushes, while carefully avoiding the mysterious, and potentially toxic, berries that deceptively appear similar to blueberries, but appear darker in color. With two large handfuls of tiny treasures, I make my way over to Teresa and carefully drop my blueberries into our bucket. 

Wild blueberries
Photo Credit: Maria Dryfhout (Shutterstock.com)

After we picked all the blueberries we could for the day, we travel back to Nicholas as he slowly approaches with the boat, and excitedly analyze all of the blueberries that we had foraged together. When we arrive back at the house, we show everyone all of the blueberries we picked and quickly get to work making blueberry bread with our fresh berries. The aroma of our special pastry filled the kitchen as we all eagerly taste the blueberry bread and enjoy it together as a family.

Blueberry bread
Photo Credit: Jen Perez (newengland.com)

Our foraging adventures aren’t just about harvesting wild blueberries, but also about the memories we make together while remembering all the unexpected gifts the natural world provides.

Bellies Full of Apple Seeds

Written by: Shannon Flaherty

My aunt and I 2009! Photo from my mom.

Every year, I go back to the house my father, the youngest of seven, grew up in on the western coast of Ireland. Our farm has now dwindled to only a few horses, a rooster, a dog, and a goat. The memories, however, are plentiful.

One of my fondest memories is the fits of giggling that filled the kitchen, the kind of giggling only the pure glee of children can elicit, on a drizzly afternoon. My cousins and I sat around the table with grilled cheeses and apple slices. My younger brother asked the question that has at one point or another consumed the thoughts of many children “Will an apple tree grow in my belly if I eat the apple seeds?”

After offering enough reassurance that my brother finished his lunch, we wiped off our chocolate milk mustaches and set out to prove to him that the apple seeds would grow into big beautiful trees, but only when we put them in the soil. We took all of the apple seeds from our lunches and clomped over to the garden in our big heavy rain boots. Digging in the dirt with our hands, my aunt and her brigade of small children put the seeds in the ground. It was the first time I had ever planted something.

We let our apple seeds alone to grow in the garden with the rest of the wild things. It is like no time has passed at all on the return trip. But I know which playing cards have creases and that last year’s rain boots don’t fit anymore. After a long year away and much anticipation, we were disappointed to see that our apple trees were not sky high. Why did the apple trees have to grow so slowly?

My family and I 2011! Photo from my mom.
My family and I 2015! Photo from my mom.

But now each year we are able to come back and see how much the trees have grown, how much we’ve grown, like the lines on a door frame. The trees might have grown slowly but my cousins, brothers, and I did not. It was the first tree I ever planted but it was not the first time I put roots down. My roots are in that country with my heart, my family, and with those apple trees.

The apple trees (October 2025)! Photo from my aunt.

I’ve learned to appreciate things that grow slower and last longer as my baby brothers got taller than me and my cousin’s children begin to look like my cousins used to when we were all small together. The same fits of giggling fills the kitchen.

My family and I 2024! Photo from my mom.

We planted something that will continue to grow a lot slower than we did, but it will grow as strong as our love for each other, and last even longer.

Dividing and Storing Dahlia Tubers

Written by Hailey Farrar

Did you know one single dahlia plant can produce 5-20 tubers by the end of the growing season? A tuber is a type of enlarged structure that plants use as a storage organ for nutrients, serving as a food reserve and bearing buds from which new plants will grow. These tubers can then be dug up, divided, and stored away until the next growing season. This post will help you identify when to dig up your tubers, understand tuber anatomy, learn how to divide them, and store them.

Once the foliage of your dahlias has died back, it is time to dig up the tubers. This is usually after the first frost in late October. Cut back the dead stems, leaving 2-4 inches of the stem above the ground. When starting to dig up the tubers, you want to make sure you dig about 6-8 inches away from that stem so as not to damage the tubers.

Tuber Diagram from https://www.threesproutsflowerfarm.com/dahlia-diaries

After removing most of the soil and trimming the fibrous roots, you can start dividing! When you’re ready, grab your plant shears and begin dividing the tubers! Take a look at your bundle of tubers and notice how all the individual tubers have a large body and a thin neck that leads to a crown. The crown is where you’ll find the eyes, which is where new growth will come out. Take your shears and cut between the crown and the stem, making sure not to cut through or cut off an eye.

If you are dividing multiple varieties of dahlias, I like to write the variety on the tuber with Sharpie, but you can also label different boxes for different varieties. 

Tuber storage method from https://www.dahliamayflowerfarm.com/blogs/growing-resources/storing-your-dahlia-tubers

Once you have divided all of your tubers you’ll want to store them in a cool dry place like a garage or unheated basement and pack them with a substrate like wood shavings, peat moss or shredded paper. This helps prevent shriveling, but be sure to check them regularly for signs of rot as well. If you do encounter any rotting tubers be sure to remove them immediately so it does not spread to others.

Dividing and storing dahlia tubers might seem intimidating at first, but with a bit of practice, it becomes a simple and rewarding part of your gardening routine. By taking the time to dig, divide, and store your tubers properly, you’re setting yourself up for an even more vibrant and abundant garden next year.

Whether you’re growing dahlias for their stunning blooms, sentimental value, or simply the joy of gardening, saving your tubers ensures your favorites come back season after season stronger and more beautiful each time.

Taken by me at Essex Tech where I grew Cafe au Lait Dahlias after dividing the tubers the previous year

Water the Roses

Written by: Rachael Sherrick

In the summer of 2017, at the age of 13, the was a flash drought. Our lawn and roses were not getting water, so it was left up to someone to water them. My job was created: the water woman.

The rose bush in the front yard.
A photo of the red rose bush in the front yard and Xander in the background.

The rose bush sat on the side of our front yard, a staple to the house’s beauty. I asked my dad that summer why roses. “Your mother loves roses, I planted them for her,” said my dad with a hose in hand. He then shoved the hose into my hands. “Your turn, hun. I need to make sure the mower works.” He wandered into the back shed. The hose’s spout leaking cold water onto my hands and shoes.

I began spraying the roses. I knew they were delicate just by looking at them. Each drop that landed on a flower shone red into my eyes; the water glistened on the petals like an accessory. I was so focused on the flowers that I didn’t notice the water was now spraying the side of the house. My mom peered out the window and laughed at the wall that was now drenched. I smiled at her, understanding the love she had for the roses.

Before I could even say anything to my mom, Xander, my childhood dog, charged over. He seemed to get bored with my dad. Xander saw the water stream and found a new game to play. He would stand right in front of the hose and chomp at the water. Suddenly, the roses were an afterthought; this was more fun.

Photo of 13-year-old Rachael playing with Xander.

My dad wandered over with his phone in hand, snapping pictures of Xander and I. Every few minutes, I would stop to let Xander catch his breath and cough up half the water he just ingested, and then the game began again. I realized I was slightly failing at my new job and redirected my attention back to the roses. They must have been watching the game in envy, waiting for their turn with the water. However, every time I turned the hose on, Xander was there, ready to be pummeled by the water.

After a while, I determined the roses, wall, and Xander were all watered enough and put the hose back against the wall. My dad had fixed the mower and was ready to head in as well. As the 3 of us headed inside, I looked back at the roses gleaming in the sun. I felt as though they were thanking me. In my head, I said, “You’re welcome, same time next week?” Yes, the roses nodded from the slight breeze.

From Garden to Table-Homemade Salsa

Written by Madison Welch

Some of my earliest memories are from my backyard garden. My dad and I have been growing cherry tomatoes in our garden for as long as I can remember. Every summer I’d run out to the garden barefoot tohelp him pick the ripe ones. I’d carry them up to the house by holding out the bottom of my shirt like basket trying not to drop any on the way into the house. 

Cherry tomatoes are one of the easiest things to grow. They need full sunlight and need watering every few days, about an inch per week (Source: University of Minnesota Extension). Red chili peppers do best in warm soil and should be planted about ¼ inch deep, spaced around 18 inches apart (Source: Clemson Cooperative Extension).

Even though I loved planting and taking care of the tomatoes, I never actually liked eating them. I always wished I did, especially since I helped plant, water, and watch them grow, and my whole family loves them. What made them special to me wasn’t the taste but the experience of watching something I grew come to life.

That’s why I was surprised when the Garden Memoirs project inspired me to give them another chance. Writing about my garden made me realize that I had never tried using my homegrown tomatoes in a way that I might actually enjoy. That’s when I thought of making homemade salsa using the cherry tomatoes and red chili peppers from my garden. It felt like the perfect way to finally enjoy something I had grown myself.

When the tomatoes were bright red and ready to pick, I brought them into the kitchen. I chopped them up, diced a few of the spicy red chilies, and mixed everything with fresh lime juice, onions, and cilantro. The first bite completely changed how I felt about tomatoes. It was fresh, sweet, and just the right amount of spicy. What surprised me most was how mixing them with other flavors made me finally appreciate something I had grown all along.

Making the salsa also made me think of my dad and all the summers we spent out in the garden together. This time, I got to take what we grew and turn it into something new. It reminded me that sometimes you just need to look at something from a different angle to see its value.

This little project reminded me that sometimes it just takes a new perspective to enjoy something you’ve known your whole life. Now, every time I make salsa, it tastes like summer and a little bit like home.

“The Menace of the Groundhog”

Shane Atwood 10/6/25


Everyone who has ever had a food related establishment or garden knows about the groundhog, or woodchuck. These little brown guys may look like cute plush teddies, but they know their way around a garden. They love digging holes that can twist ankles if you aren’t careful, and are able to climb short trees and can even fight dogs. It’s well known that they’re a menace to anyone’s garden, so this blog post will show you how to get rid of them.
First off, you need to identify how they dig holes, and luckily, there’s a formula for it. According to the article “10 Ideas for How to Get Rid of Groundhogs”, the formula’s like this:
“Groundhogs dig tunnels in the same relative fashion each time: They use their short front legs to dig inward for a few feet, then dig at a slight upward incline before going horizontal for up to 25 feet. Their burrows, where groundhogs spend most of their time, can be 50 feet long.”


And now that we’ve identified the method to their madness, we can now find ways to humanely get rid of those little buggers. The same article I mentioned above lists 10 ways, very apt for its title I might add. They list predator urine, epsom salt, commercial repellent, motion sensing sprinklers, row covers and fencing, natural repellents, habitat removal, hair clippings, groundhog nest removal, and trapping and relocating them. Killing them is highly discouraged, but allowed as a very last resort. However poison and lethal traps are never the answer. Also, killing these guys is illegal in many areas, so make sure you know the law of the land before becoming Butcher Boy.


And there you have it. Now you know how to identify groundhog burrows, save your garden, and not harm them. Now, it’s your turn. Go out, grow a garden, and plant a ton of fruits and vegetables. Fear nothing, for now you know to get rid of those ground hogs until February 2nd. Enjoy yourselves!
Source: https://www.facebook.com/thespruceofficial. “The Best Ways to Rid Your Yard of Groundhogs.” The Spruce, 2024, www.thespruce.com/groundhog-damage-in-yard-2131141.

Back Yard Gardening With My Grandma

By: Leah Mercado

When I was around five years old, my grandmother passed away, but one of the most prominent memories I have of her, was building a backyard garden together. She wanted to teach me everything she knew about the art form that was and is gardening. We set out to create a big backyard garden in a very dead piece of land.

We started out on our mission to create a successful garden by digging up the area and planning exactly where everything would go. Now because I was so young I do not remember what exactly we planted but I do remember that it was a large variety of everything. Once the hard work was done of getting everything planted, the garden started thriving! We were so impressed how our hard work truly paid off. After everything started to grow, we noticed that an intruder had entered our garden. 

What our garden looked like with all the various plants. (Credit: Lovely Garden https://lovelygreens.com/how-to-draw-a-simple-garden-plan/)

The intruder is what I remember most about growing this garden with my grandmother. The intruder in question was a deer. This was a big challenge for us because the truth is you can not just put up a little fence and they are gone, this is a very determined species. Of course we recruited the best carpenter we knew, my grandfather, to build us an impenetrable fence. This was house like, with wood frames and chicken coop wire as the walls and roof, and even had a functioning door. I remember when we first walked in our new garden, and undid our rope lock to our front door of the garden, we started laughing so much because of how ridiculous this garden had gotten. My advice would be to actually research the “intruder” you have and not just assume if you build a over the top structure they will stay out, just search up hacks, as  I learned that probably should have been our course of action because building the enclosed garden prevented us from gardening more.

A visual idea of what our garden looked like. Credit: (The country basket https://thecountrybasket.com/building-our-vegetable-garden-fence-w-pictures/)

This gardening adventure with my grandma taught me so much about determination and to still have fun while accomplishing your goals, and I will carry this garden memory with me for the rest of my life.

Picture of my grandmother and grandfather. Credit: photo of the photo taken by Nicole Mercado

  • Written by: Leah Mercado

Aloe Vera

By: David M. Dodge Jr.

Overview: Aloe vera is a plant that has been used for years for its medicinal properties by ancient societies like Greece and China. It is still a natural cure used today. In its leaves, there is a gel-like substance that is useful for treating acne, burns, and irritated skin. It can also be taken orally to treat diabetes, bowel issues, and weight loss. Today, we will look at growing aloe vera from seeds, harvesting, and a sweet treat made with aloe. (Source: NIH Clinical Center)

Aloe vera leaves, as seen sliced down the middle. Source: Dr. Sturm

Seed starting: Aloe seeds are small, gray, and brown seeds that are found in the plant’s dried pods. Press the seeds lightly into the soil’s surface in a potting mix that drains easily. (Source: Gardening Know How.) After that, place it in a bright and warm area, but out of direct sunlight. You want at least six hours of sunlight per day. It is recommended that seeds be put at a shallow depth of about 1/8 inch. To water, use a spray bottle to moisten the soil’s surface. Be careful! Too much water can cause seed rot. (Source: Get Sprig Box)

Growing advice: Give the seeds plenty of room, about 7 to 10 cm. (Source: Get Sprig Box). A common pest for aloe is mealybugs. These pests can be handled by wiping them off with a cotton swab dipped in rubbing alcohol. Neem oil or insecticidal soap can also be used. (Source: Green Matters)

Harvesting advice: The leaves of aloe become ripe when they start to become rosy at the tips. Don’t harvest too much at once and avoid taking smaller leaves. Aloe is slow-growing! (Source: Gardening Know How) To store aloe vera, keep it in the fridge wrapped in plastic wrap for up to two weeks. For longer storage, freeze it for up to a year. For shorter storage, you can leave it on the counter just make sure the temperature isn’t too warm! (Source: Mind Body Green)

Vegan Chocolate Aloe Ice Cream

Vegan Chocolate Aloe Ice Cream Source: Living Color Garden Center

This sweet treat is dairy-free and packed with antioxidants, nutrients, fiber, and plant protein!

Ingredients:

  • 1 cup of raw cashews
  • 1 cup of water
  • 2 tbsp of cocoa powder
  • 1 tbsp of raw cacao nibs
  • 1/4 cup maple syrup
  • 4 tbsp of rinsed aloe vera gel


Directions: Add all to a blender, then blend for 1–2 minutes until the substance is smooth and freeze for at least 4 hours. Then remove it from the freezer and let it thaw for 10 minutes, so it softens up. Enjoy! (Source: Living Color Garden Center)

How to Weed a Garden            

Written by Ben Winston            

https://stock.adobe.com/search?k=pulling+weeds&asset_id=1241722368

Weeding is a very time consuming yet essential part of gardening. A clean, weeded bed looks great but also helps your plants thrive by eliminating pop ups that will leech sunlight, water, and nutrients. There’s a right and a wrong way to weed and doing it incorrectly can  make things worse.

Step 1: Identify and Timeline

The best time to weed is when the soil is slightly damp, like after rain or watering. Moist soil makes it easier to pull weeds out by the root instead of snapping them off at the surface. You should pick weeds when they’re young; before they flower or go to seed.

https://stock.adobe.com/search?filters%5Bcontent_type%3Aphoto%5D=1&filters%5Bcontent_type%3

Step 2: Use the Right Tools

A simple hand weeder or knife can work great for small areas. For larger spaces, you could try a garden hoe. Always hold the weed close to the base and pull slowly to remove the entire root. Even leaving a small piece can allow the weed to regrow.

Step 3: Mulch and Maintenance

After clearing an area, add on top 2–3 inches of mulch to block sunlight from reaching any new weed seeds. Alternatively organic mulches like straw, shredded leaves, or wood chips also improve soil health as they break down over time.

Step 4: Consistency
Weeding regularly about once a week keeps things manageable, but also leaves things well maintained. It is better to stay consistent rather than waiting for things to get way overgrown. Using proper weeding techniques allows you to spend more time enjoying your garden opposed to fighting it.

https://stock.adobe.com/search?filters%5Bcontent_type%3Aphoto%5D=1&filters%5Bcontent_type%3

Personal experience 

Working on the grounds crew at a golf course some of my main jobs were weeding sand traps and maintaining flower beds. Both areas would frequently have weeds growing and they needed to be removed for playability and appearances.

https://stock.adobe.com/search?filters%5Bcontent_type%3Aphoto%5D=1&filters%5Bcontent_type

Citations

“Controlling Weeds in Home Gardens,” University of Minnesota Extension, extension.umn.edu/planting-and-growing-guides/controlling-weeds-home-gardens.

“Roll up your sleeves: Use multiple strategies to control invasive weeds,” Oregon State University Extension Service, extension.oregonstate.edu/news/roll-your-sleeves-use-multiple-strategies-control-invasive-weeds. 

Further gardening and weed knowledge from Mark Finch and The Country Club of Vermont