Margo McLennan
A twenty-something year old Margo pushes her luck while she travels to expand her horizons, but angels safely guide her home.
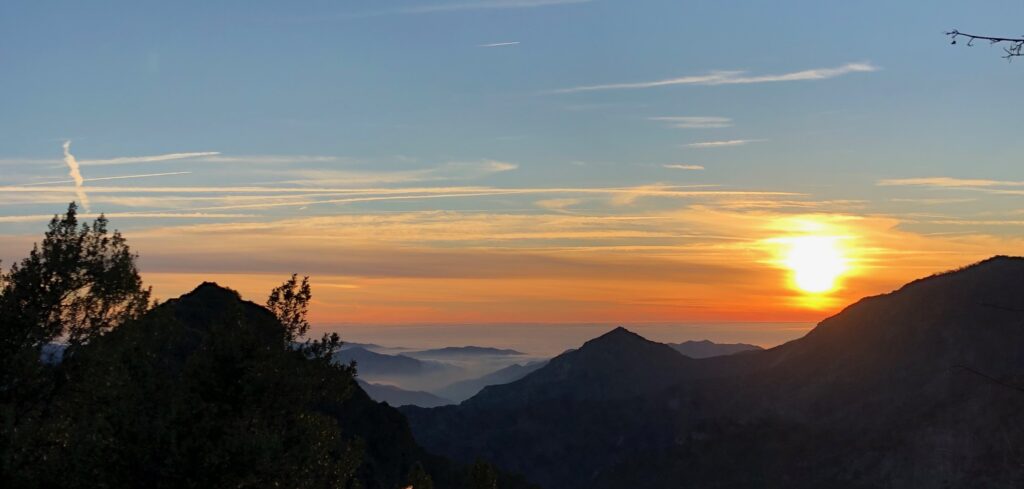
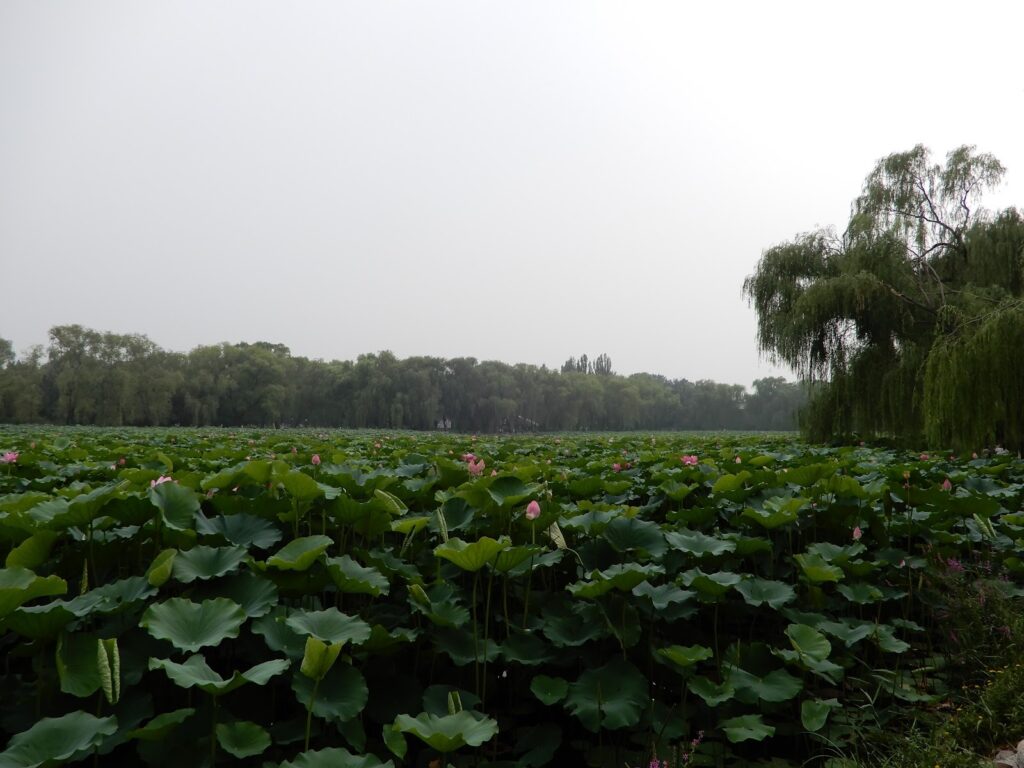
Sierra National Forest, CA (Photo Credit: Margo McLennan, 2017)
Alt text: landscape photo of mountains and clouds as the sun sets behind them

Fresh out of college, Margo traveled around the country with hopes of seeing places that looked different than her home state of Massachusetts. From mountains to deserts to bayous and beyond, she experienced unparalleled natural beauty. Her most striking discovery, though, were the angels she met along the way: people with an eagerness to feed and shelter vagabonds like herself out of the kindness of their hearts.
Red Rock Canyon, NV (Photo Credit: Margo McLennan, 2017)
Alt text: red rocks in the foreground with desert landscape and blue skies in the background
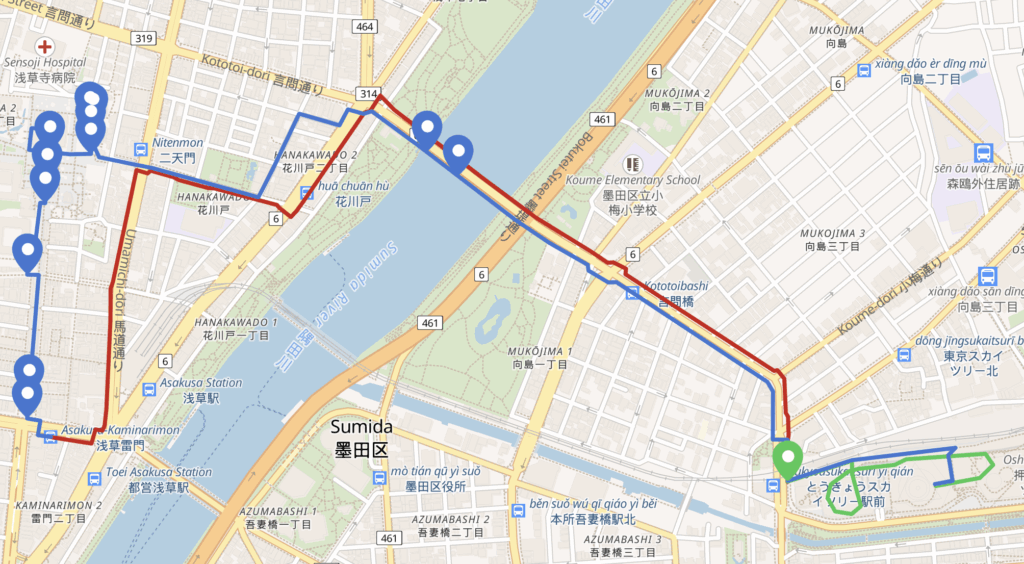
MapHub
https://maphub.net/margomclennan/map
Navigate the interactive map using the link above to see photos and locations of some of the angels Margo met and stayed with along her travels, including:
- a woman in Buffalo, NY who fed Margo copious amounts buffalo chicken
- a hip, young couple in Des Moines, IA who taught Margo that in some parts of the country (Iowa, for example), women leave their purses and drinks unattended in bars, because nothing bad will happen to them if they do
- an older, single woman in Boise, ID who was obsessed with her koi ponds and grapevines. She only wore t-shirts from the koi feed store. Her WiFi network was named KOI POND.
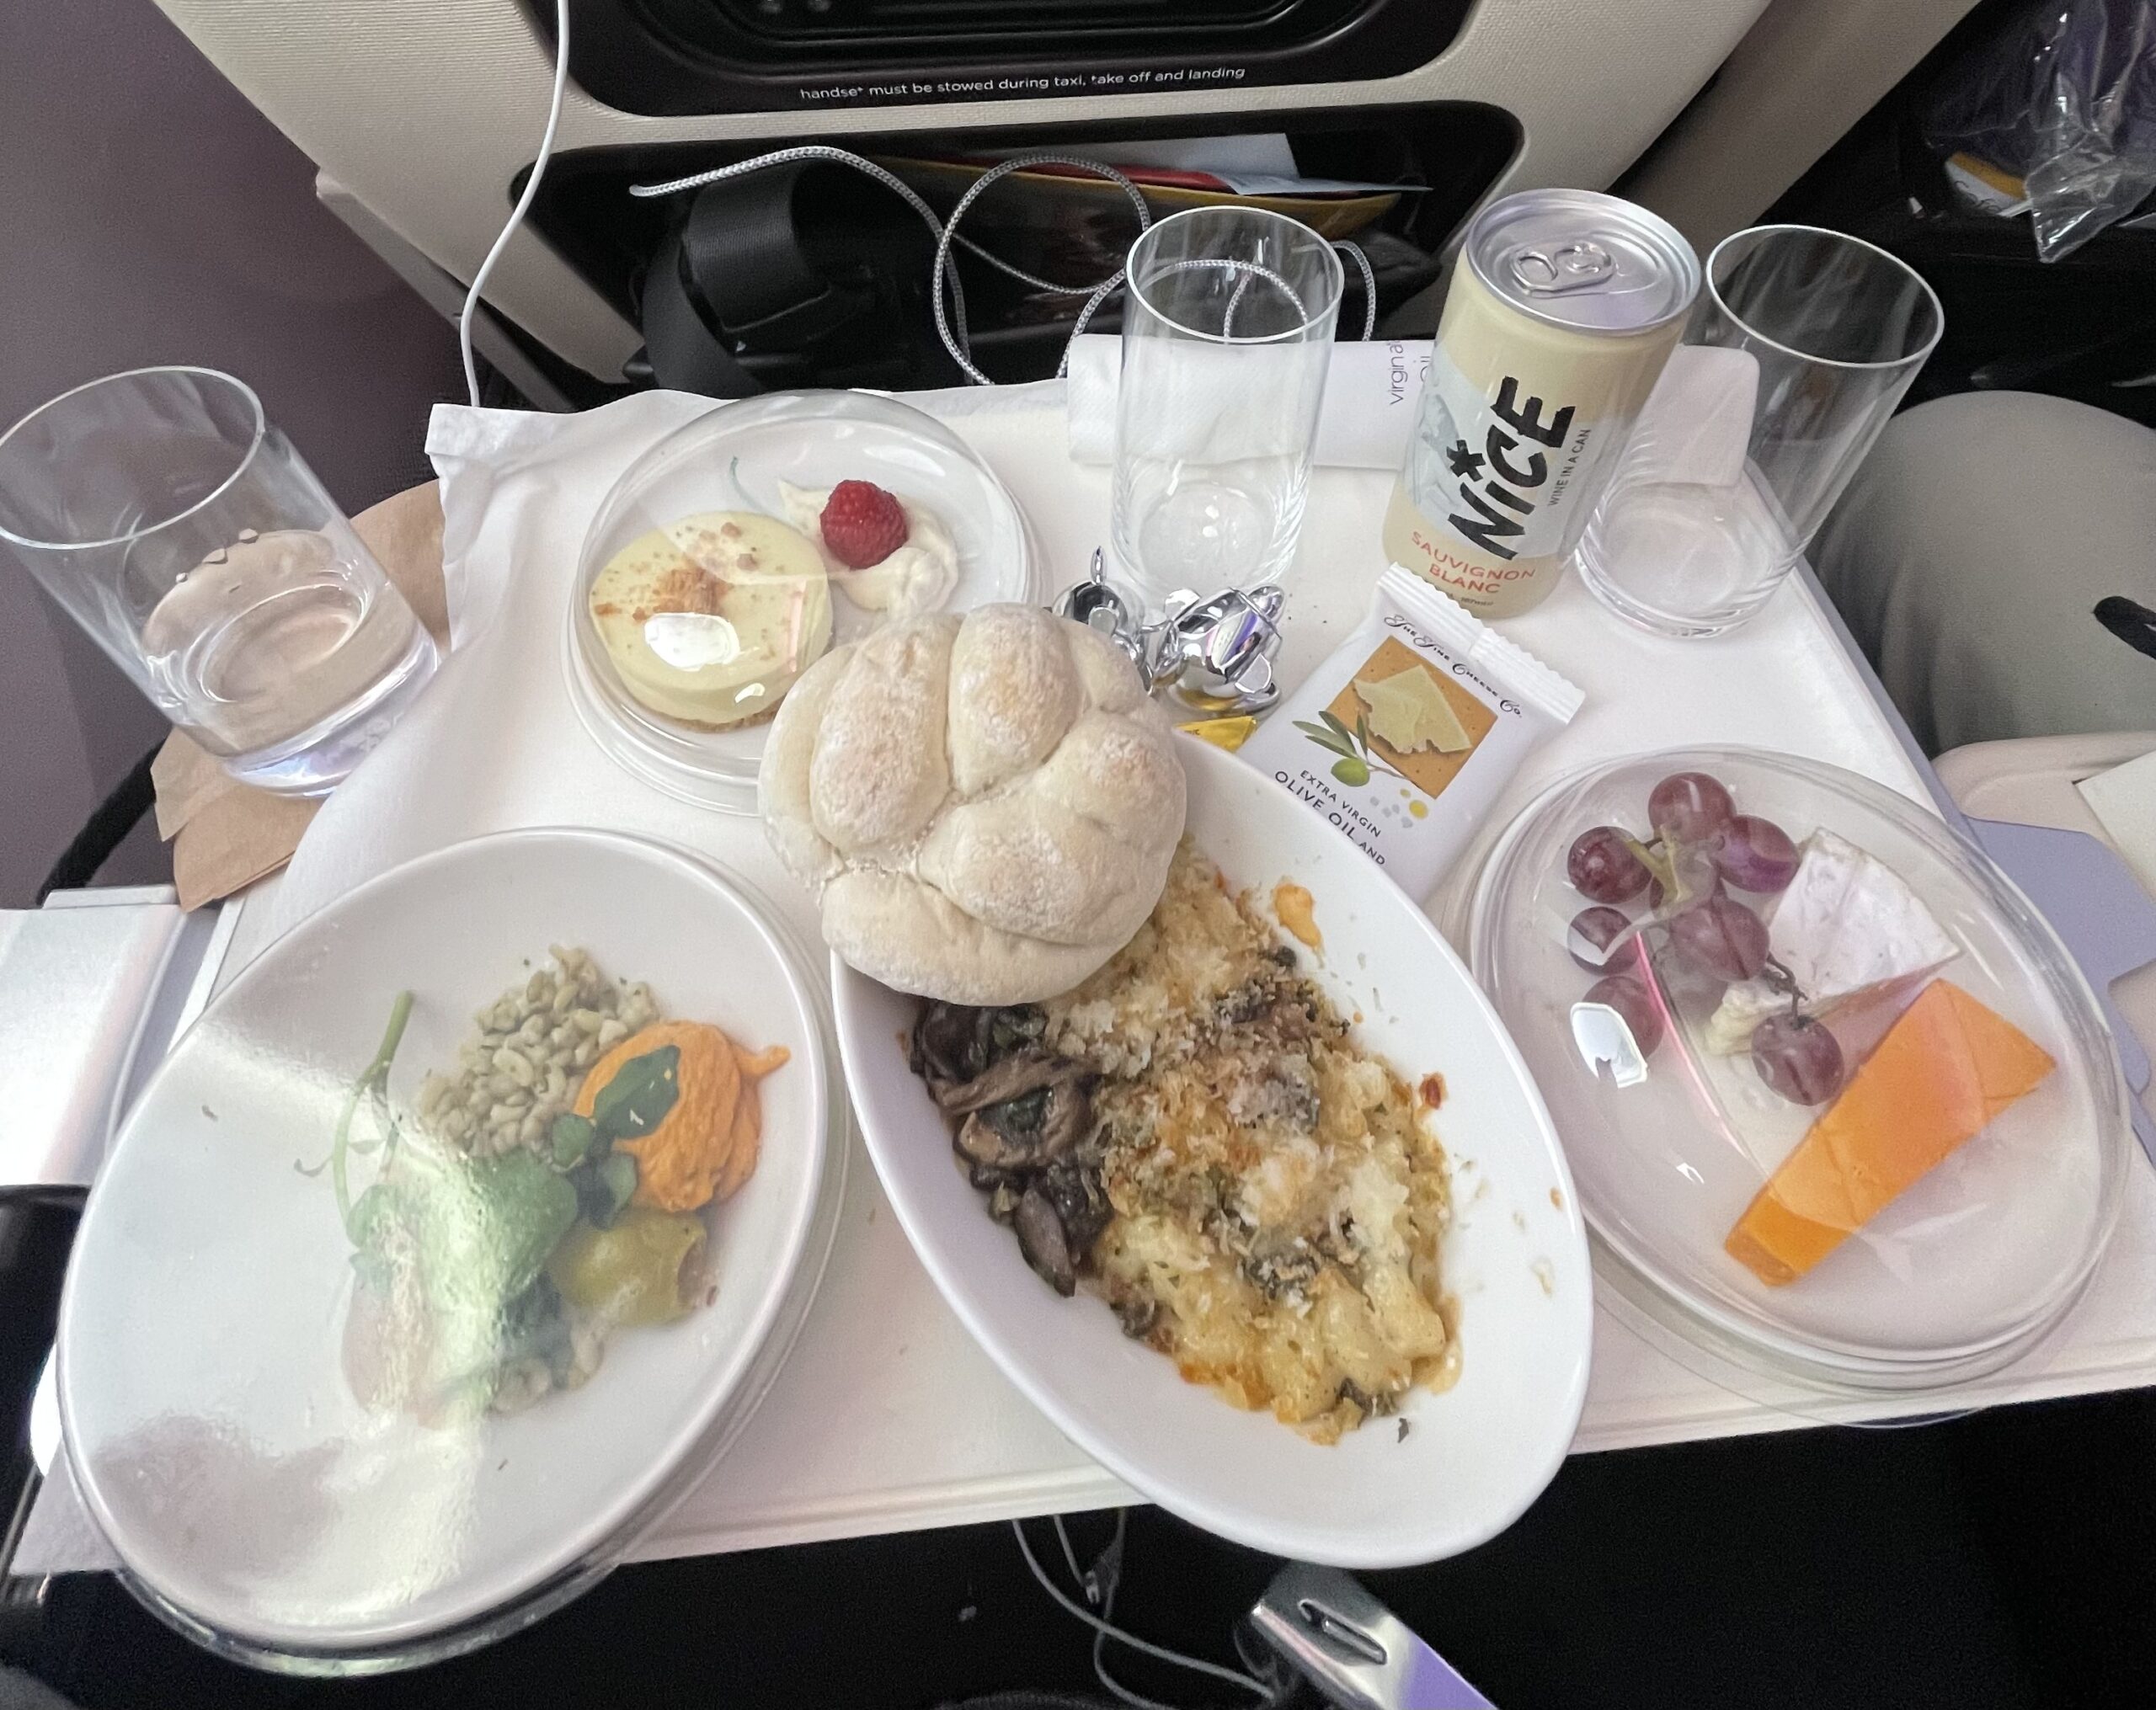
- a wine-maker in Portland who brought Margo mushroom hunting, where they foraged russulas for a tasty dinner
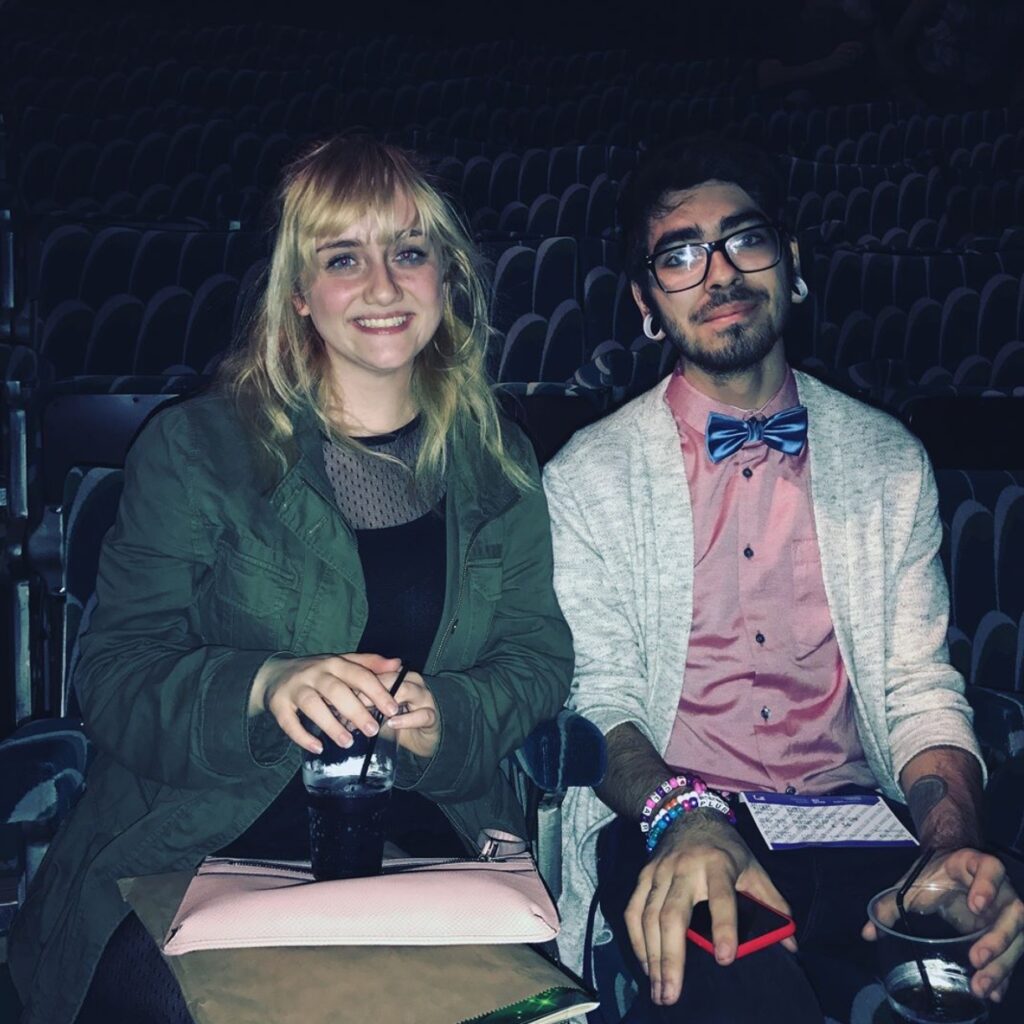
- a fabulous, elder gay who used his Marriott points to book Margo and some friends a hotel in San Francisco on his dime
- an equally fabulous housewife in San Francisco who welcomed Margo into her guest home for five days of crafting, wine-drinking, and going to the theater
“Y’all need any help?”
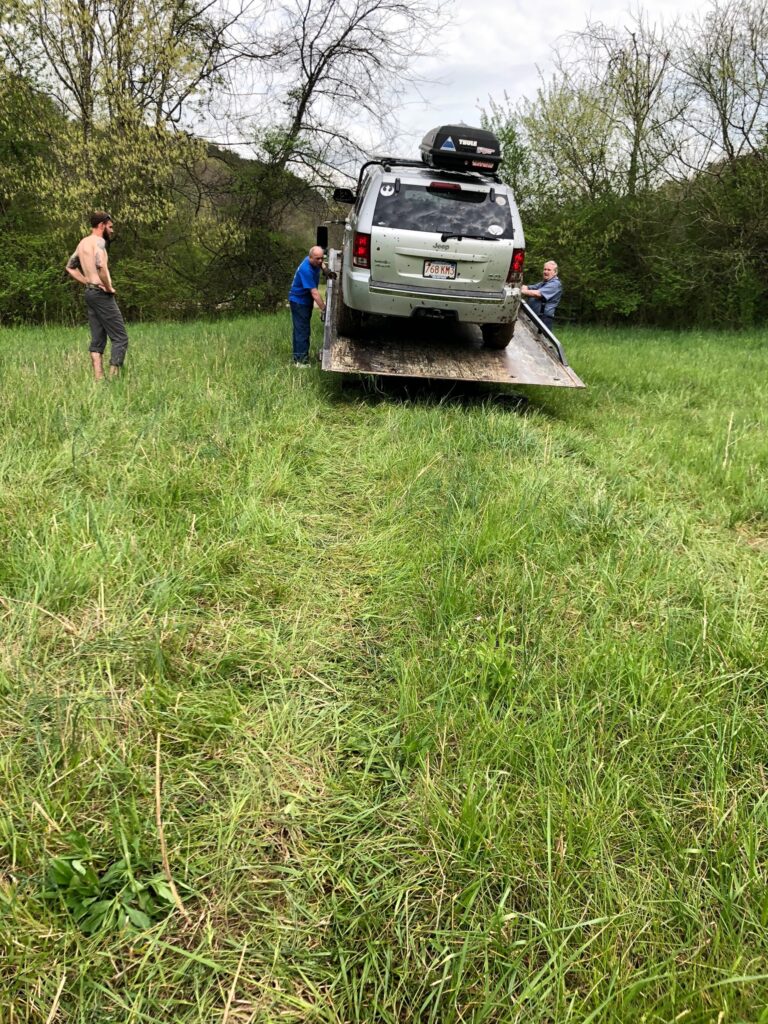
In a hot, sticky field in Georgia, Margo and her friend get stuck in the mud. The Jeep they had been living out of breaks down, the skies open to a hot, hellish rain, and they are stranded in a wet field overnight. Fortunately, a pair of angels discovers them, and their luck turns.
Lafayette, GA (Photo Credit: Margo McLennan, 2018)
Alt text: shirtless man stands in a grassy field with hands on his hips watching two men load Jeep onto a towing truck
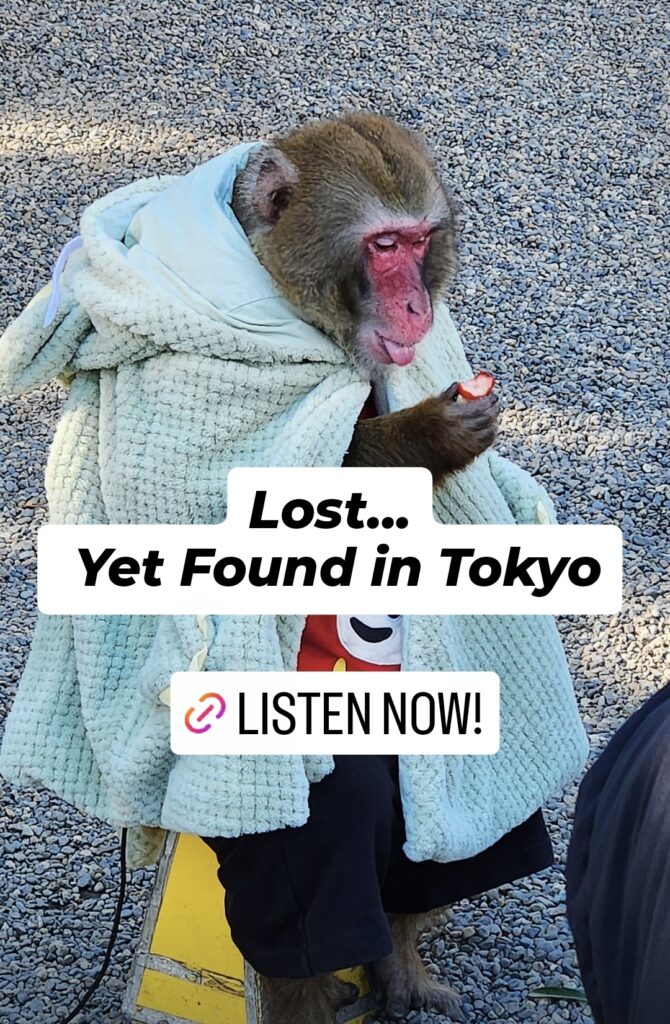
Instagram Story
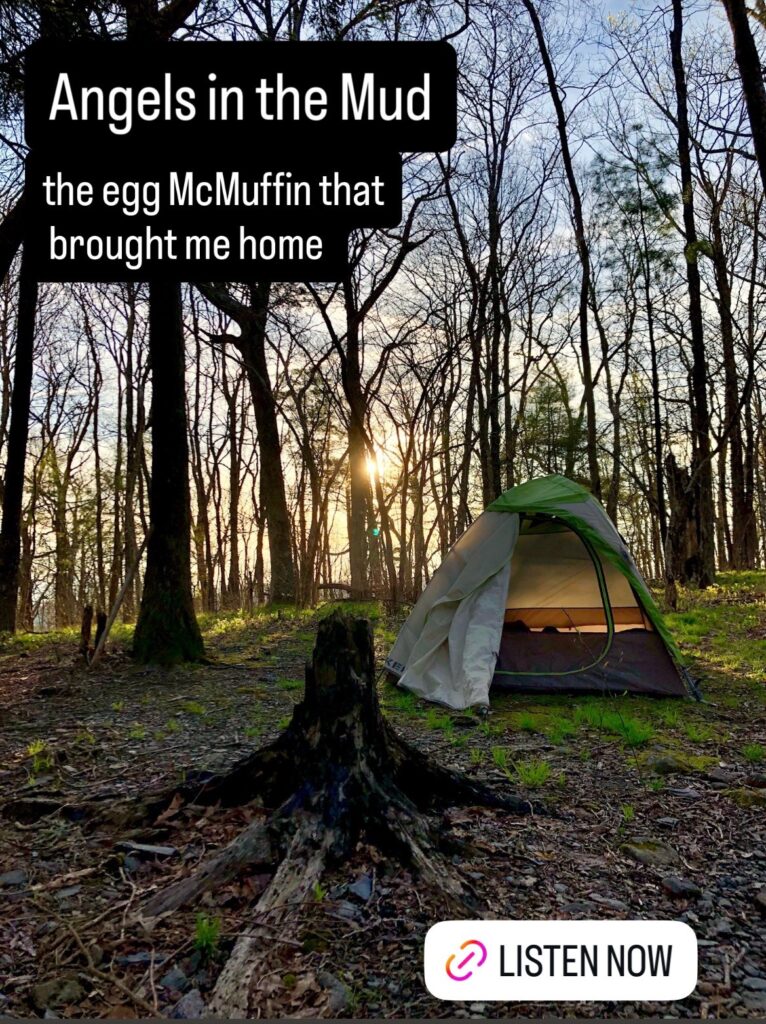
Photo Credit: Margo McLennan, 2018
Alt text: photo of a tent in the woods with the sun setting behind trees and the text overlayed “Angels in the Mud: the egg McMuffin that brought me home” with a link to Listen Now