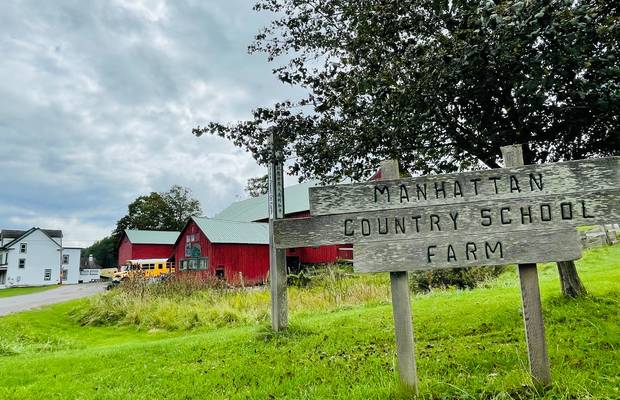
In middle school, every few months, my class would spend a week at a farm tucked into the hills of the Catskill Mountains in New York. We’d arrive with backpacks full of books and games, duffel bags and suitcases with everything from clothes to medicine – whatever we needed for the week along with a bundle of nerves. The weeks would always be full of new experiences – building igloos and sledding in winter storms, harvesting carrots and potatoes in fall, and by the time we left, our hands were calloused, our hearts and minds cracked open.
We did everything—barn chores at sunrise, feeding pigs and cleaning cow stalls. They would lick their salt block as we brushed their soft fur, refilled their water and hay, and left wet licks on our fingers and arms on our way out. After barn chores we’d milk the cows and squeeze milk into lingering cats mouths, and wash our hands in warm soap and water. We learned to compost the food we’d eaten days before, dye yarn, and cook with vegetables we’d pulled from the dirt hours earlier.
“When human beings were too much to bear, the earth consistently held firm under my feet and the solid, sticky trunk of the majestic white pine offered me something stable to grasp. I imagined that I was alone in identifying with Earth as Sacred Mother, having no idea that my African ancestors were transmitting their cosmology to me, whispering across time, “Hold on daughter—we won’t let you fall.”
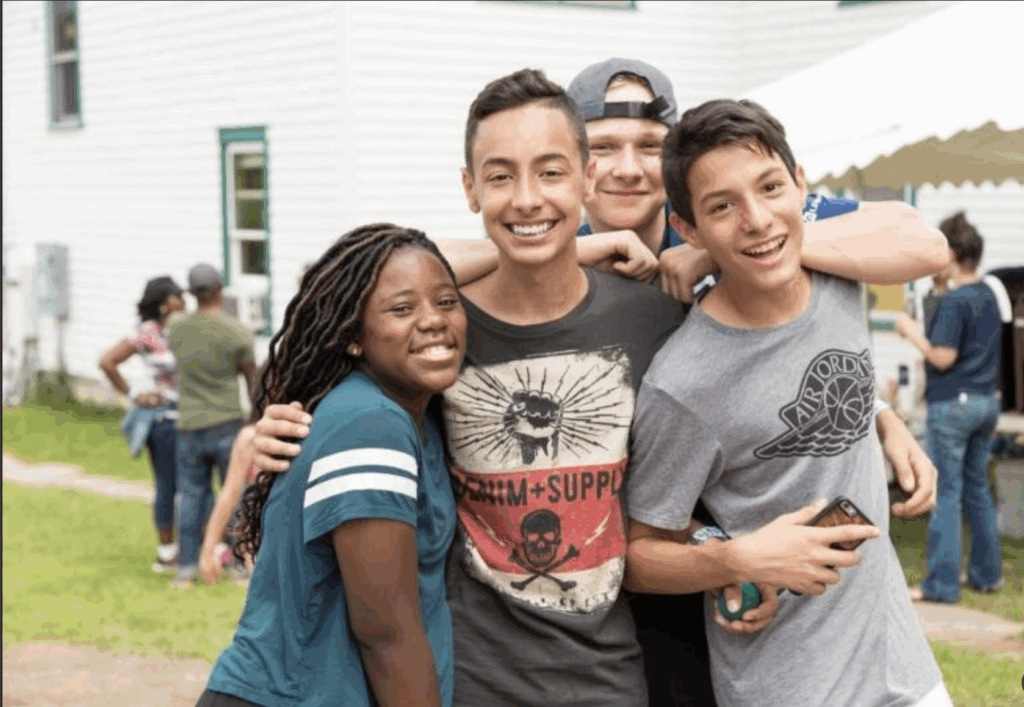
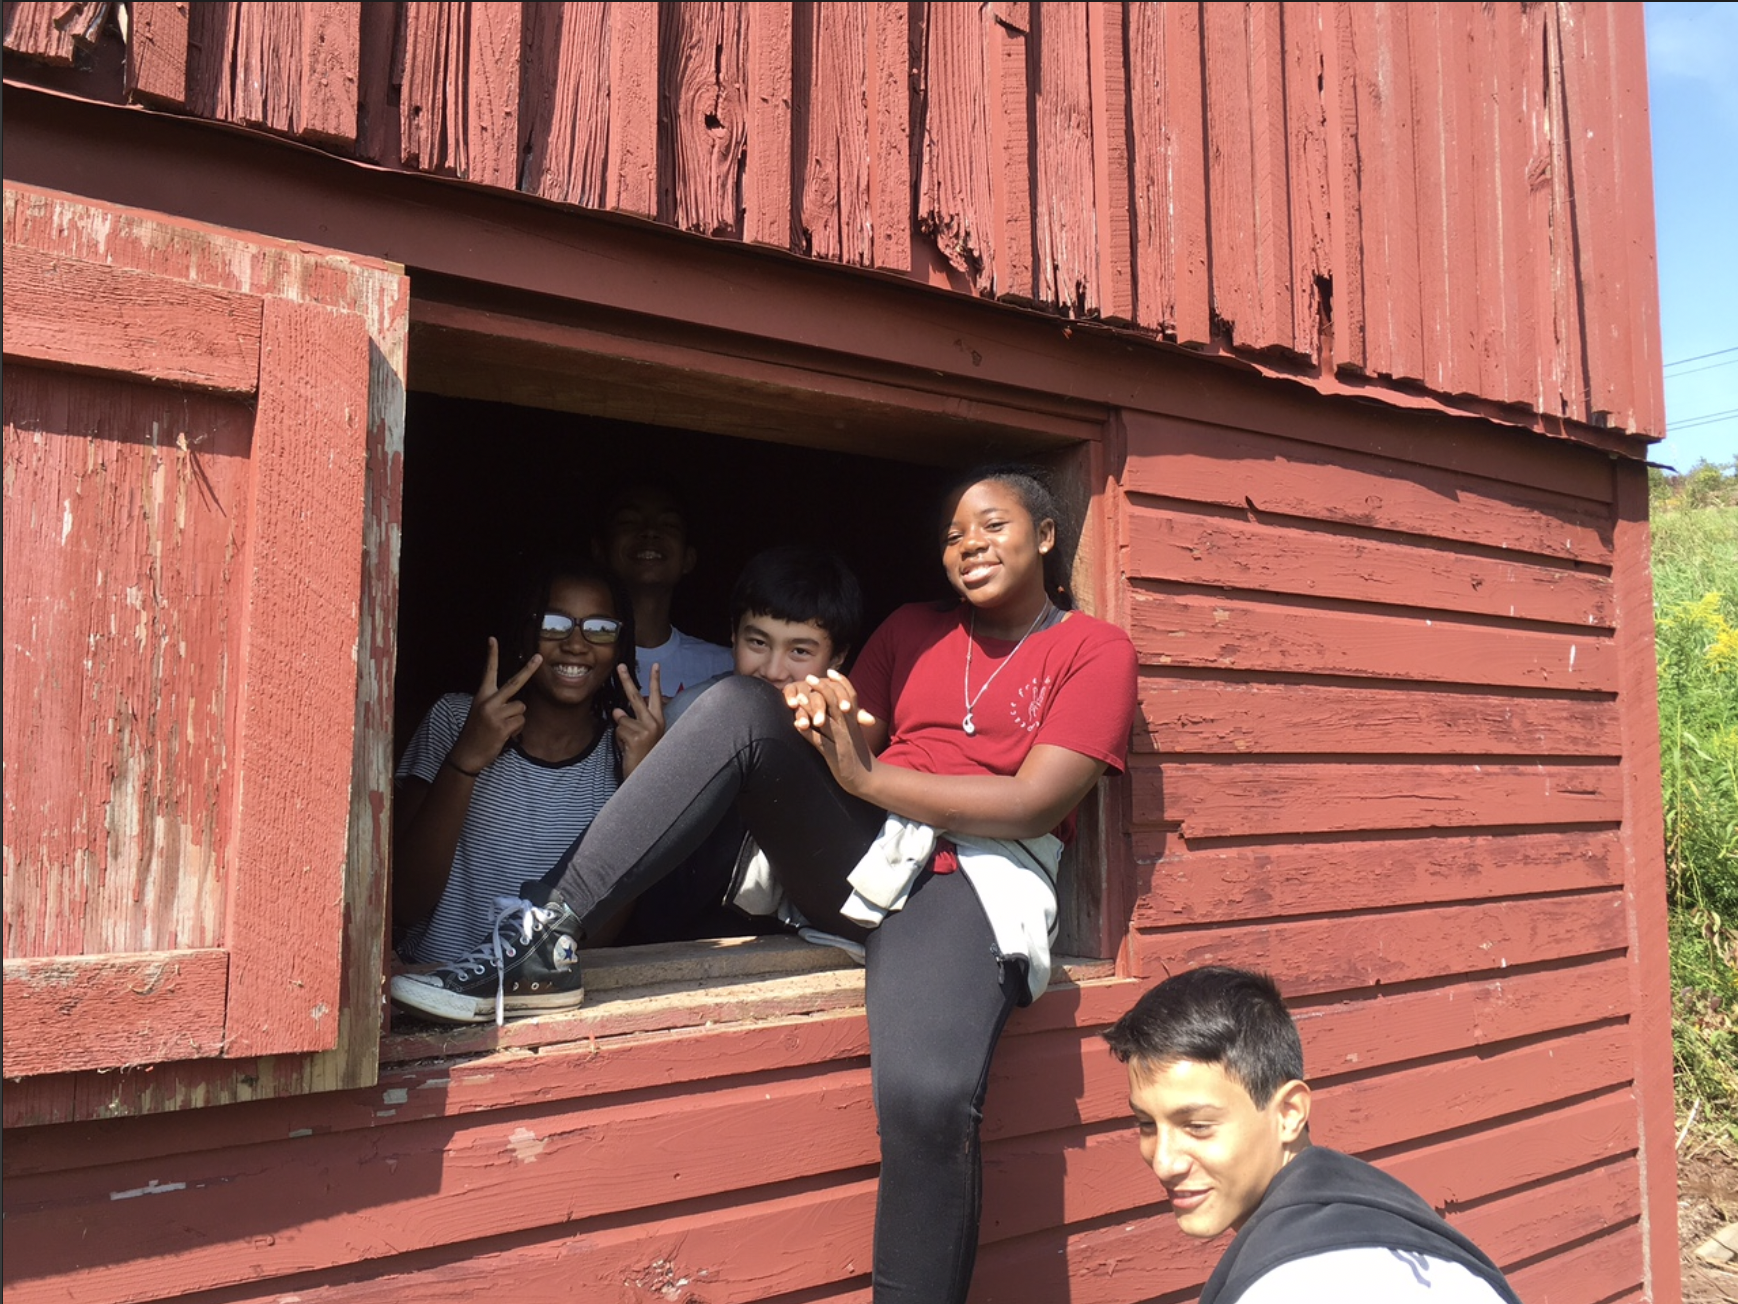
At the time, I didn’t have the language to describe what that farm gave me. Now, reading Farming While Black (Penniman), I do. It gave me a sense of belonging. It taught me that land is not just something you walk on—it’s something you listen to. Something you learn from. Something you love. And through loving the land, and the animals, we learned to love each other. We became more like family instead of friends. Jumping from the hay jump holding each other’s clammy hands, sitting around bonfires warming our bodies and our hearts, staring into starry night skies after playing manhunt on the property, one night we took a hike up to the lean-to and learned that the wintergreen lifesavers glow in the dark – we didn’t know it then but we were creating new memories that would last a lifetime.
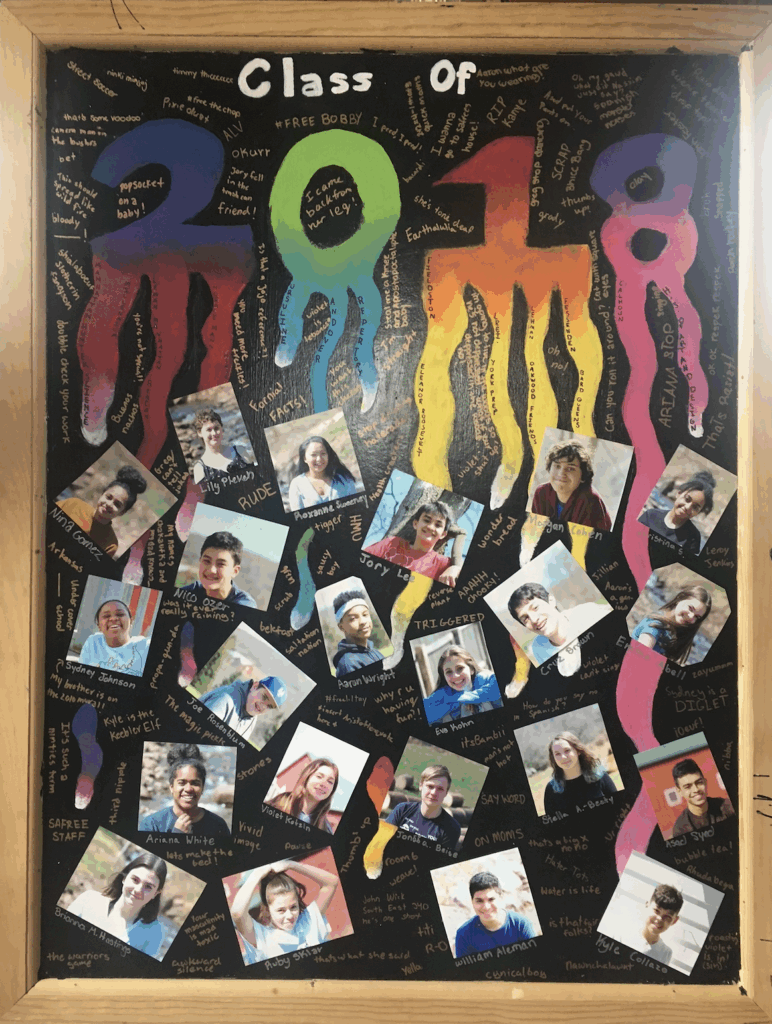
As a young Black woman, I carry those weeks with me like seeds in my pocket. That farm was the first place I felt powerful and secure in my body—not because I was performing, but because I was participating. I was part of a cycle older than textbooks, leaving a legacy behind for the next class to come, see, and experience.
Revolution is based on land. Land is the basis of all independence. Land is the basis of freedom, justice, and equality.
Malcolm X said, “Land is life. Land is liberation.” I felt that, even then. I didn’t know the history of Black land loss, or the legacy of Afro-Indigenous farming. But I knew that when I held a chicken, or carded wool, or even herded the cows from grazing —I was home. Doing something passed down in my blood for generations, without even realizing.
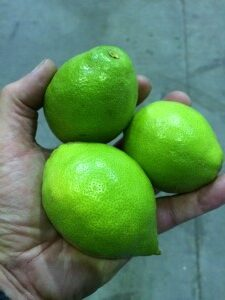
My Family has had a strange history with gardening. We’ve always tried to grow vegetables in the past, usually Tomatoes to be specific, but it wasn’t often they survived. Many of the tomatoes were eaten by rabbits before they could turn red. We took a break from growing food in our garden, until one day, my mother and brother came home with a little lemon tree. It was my brother’s idea, since he had developed quite the taste for lemon-flavored food. Although it started out rough, we eventually ended up with a batch of bright yellow lemons, so I’m here to spread the fruits of our labor and teach you how to grow lemons as well.
This is what lemons look like when they first begin to grow, small and green. You may mistake them for limes, but give them time, and they’ll show you that they’re lemons alright.
Fruit trees can be daunting, but if you do enough research and be careful, then you’ll succeed like we did. For starters, you have to be in the right environment to grow lemons. Cold weather will easily kill any citrus plant, so waiting for the Spring and Summer is highly recommended. If you live somewhere that is warm regularly like California, then you’re good to go. It’s your choice whether you want to start from the seed, or buy a grown one from the store. If you pick the seed, Ashley Adamant’s website Growing Lemon trees from Seed says “lemon seeds should be planted as soon as they’re rinsed,” and “you should see growth in 1-3 weeks.” (Adamant). Maturing lemon trees can be treated like house plants thanks to their small size, keeping them by windows is a good way to give them sunlight without exposing them to the elements. They should have six hours of sunlight per day at minimum. Andy Wilcox’s article Learn how to plant, grow, and care for lemon trees suggests “They need a location with good drainage and slightly acidic soil.” (Wilcox). It should take 2-3 years for the plant to finally bear fruit. It will then take six months for the fruit to ripen, turn yellow, and be ready to eat.
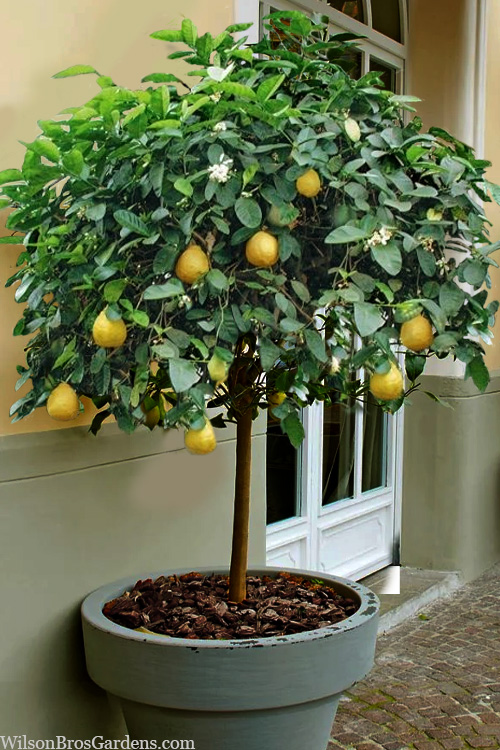
While not as big, this is close to what our lemon tree looks like, a Meyer lemon tree in specific.
When my brother first brought home the lemon tree, I didn’t have much faith that we would actually see the lemons turn yellow. But against all odds, they did, and we plan to let them get even larger to use for baking recipes. I’m really happy that the lemon tree worked out and I’m especially proud of my brother. Lemon cake, frosting, or pie is definitely in our future, as we love baking. With your new lemons, you too can make lemonade, place them over cocktails, and make lemon-flavored desserts.
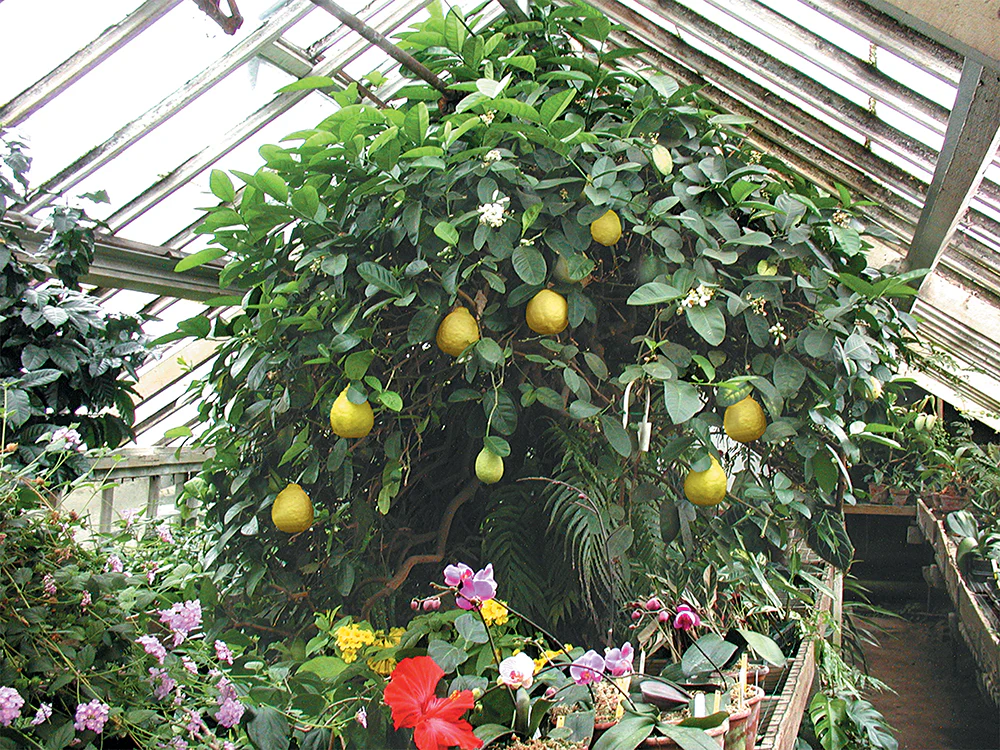
According to Barbi Gardiner on The Best Guide to Growing a Lemon Tree Indoors, “Logee’s greenhouse has a lemon tree that more than a century after being planted, still stands today, producing lemons the size of small melons.” (Gardiner). It truly is the pinnacle of gardening achievement.
Flowers have always played an essential role in my life. My mom and I spent countless afternoons in the garden–planting, watering, and watching blooming petals emerge from the soil. I located the colors and the blossoms, but more than anything, I loved the time we shared in the garden. As I grew older, the garden got lost in our busy days, yet my love for the flowers never left me. Now, flowers enter my life broken from their roots, bundled together, wrapped in cellophane–a gift from my boyfriend or a symbol of celebration. Everyone around me could tell you that I love flowers; however, it was only recently that I came to understand why I truly love flowers, especially sunflowers. Rummaging through old photos from my childhood and our garden, I noticed that sunflowers were a prominent feature. Our photo albums are packed full of pictures of sunflowers, even in subtle ways.
Photo with Teddy Bear Sunflower age 4. Photo courtesy of Heather Mahoney Sunflowers as the centerpiece at a family gathering. Photo courtesy of Heather Mahoney
Each summer, I spend a few weeks in Amsterdam, Netherlands, to coach at a youth field hockey camp. Each year, the camp director selects a theme for the camp; this year’s theme was sunflowers. There was no immediate explanation of how sunflowers could relate to my life as a field hockey coach, but it soon became very clear. On the first day of staff training, we were given the long-awaited explanation. Sunflowers, unlike many of their floral counterparts, are remarkably adaptable, resilient, and tough. We discussed just how these ideologies could support us through a week of fatigue, frustration, and reward. No matter what, sunflowers grow tall; they reach for the sun. ‘Rooted to Rise,’ the idea that just like sunflowers, we must have strong roots to withstand challenges to grow upward towards our goals.
The more we spoke about it, and the more time I had to reflect, I realized that sunflowers aren’t just about growth, but also about connection. Intuitively, they turn towards the light, yet they also turn towards each other when the sun is hidden: I was mesmerized. Just days after being introduced to the theme and rediscovering my love for sunflowers, my mom called. She had visited my grandmother’s grave that morning and noticed a lone sunflower in full bloom standing tall above her grave. Suddenly, ‘rooted to rise’ took on a new meaning. Knowing how much coaching means to me, how big an opportunity working this camp was, I knew at that moment that my grandma was with me. The idea that we were somehow connected, across the world, into the afterlife, brought back the same magical feeling as once planting the seeds with my mother.
Sunflower found in full bloom above my grandmothers grave this summer (2025) Photo courtesy of Heather Mahoney
Most recently I had a full meal from the garden and my goose which I harvested and processed myself. It was a standard weekend night for me, some light jazz playing in the kitchen as I gather my ingredients.
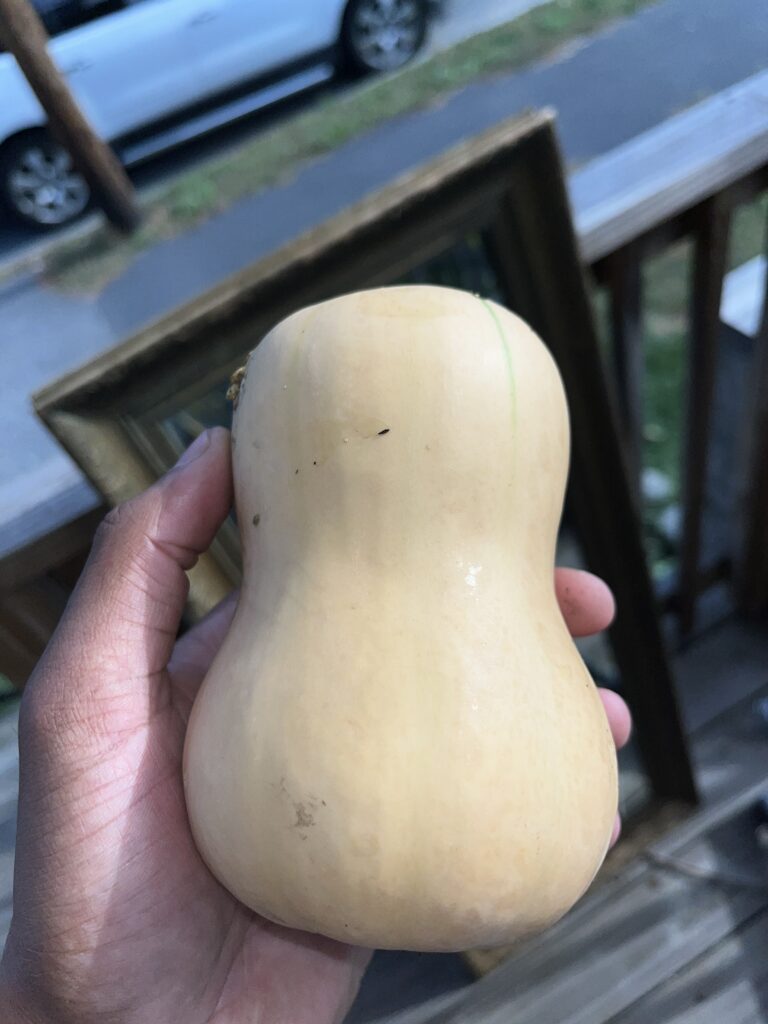
My photo: A butternut squash from the garden
My photo: Basket full of greens from the garden
I threw my crocs on and went around the side of the house to the garden. I unsheathed my knife and carefully cut around 20 or 30 of the biggest Collards I could see from their bases. With my bundle I went to the sink and cut each stem up and about halfway through the leaf, to remove it. The stems are woody and fibrous, edible but not delicious like the rest of the leaf. I rinsed the leaves and watched them turn a brighter green under the hot water. Aver rinsing all my leaves I rolled them into a bunch and cut that bunch into strips. At this point I took a break for an ice cold Coors Banquet, delicious. Feeling reinvigorated I started two burners and set the over to preheat at 425.
I plucked the remaining feathers off the goose breast with the skin on and seasoned and scored it. I then cut the bacon into knuckle sized pieces and threw them in the plan with the greens and some garlic to sauté. Lastly I peeled the long strips of skin off of the butternut squash and cut it into halves and then into bite sized chunks. I seasoned it lightly with garlic powder, salt, pepper, and a few other desired spices and tossed with a bit of sunflower oil before throwing it in the oven at 425 for roughly 30 minutes.
I cooked the goose to a beautiful medium rare starting with the skin side down. The aroma in the room paired with the jazz the way a dark red wine would with the goose. I’d recreate that meal again and again and look still forward to it every time.
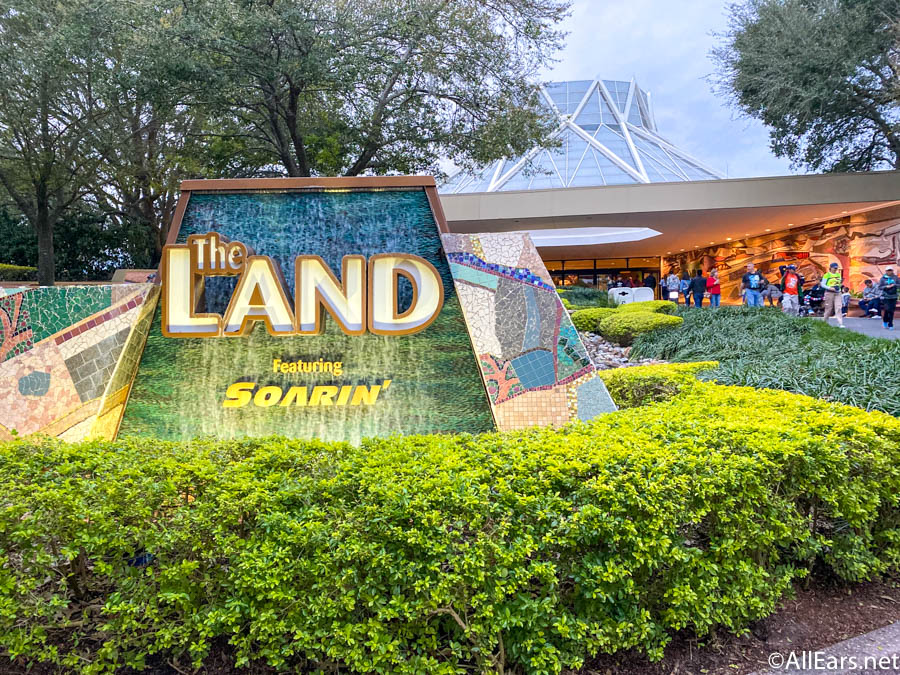
I have numerous garden related memories, but one of my fondest is making homemade Caesar salad with my mom, utilizing her famous recipe. That recipe has always been a family favorite, and now I’ve added my own sustainable twist. My boyfriend and I started our own hydroponic garden after being inspired by EPCOT’s Living with the Land ride, which explores how humans can interact with nature while producing food sustainably. We use this method to grow our own ingredients. It is so meaningful to continue my mom’s tradition while embracing sustainability and cultivating the ingredients myself. This post will delve into how each component has inspired me to make sustainable changes and how it shaped my view on sustainability.
I have always felt personally connected to the ride Living With The Land in Walt Disney World’s EPCOT. While most kids found this ride boring, I have always been completely fascinated by it.
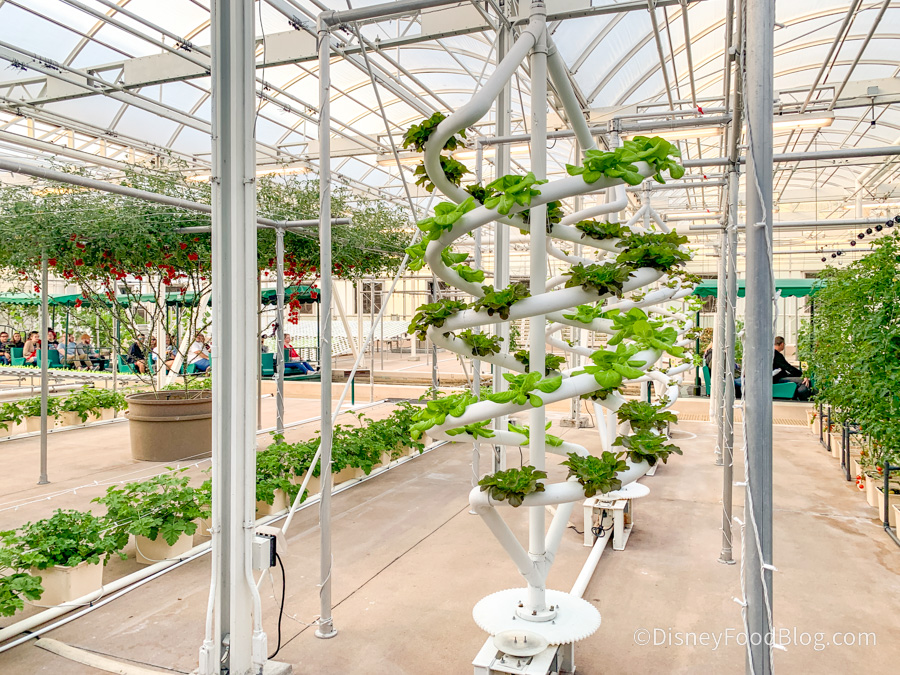
Living with the Land is a boat ride that explores how humans can work with nature to grow food sustainably. The attraction begins by showing different ecosystems like rainforests and deserts, then moves through scenes that explain how farming has evolved and how it affects the environment. The highlight of the ride is a real, working greenhouse where Disney scientists use innovative techniques such as hydroponics, aquaponics, and aeroponics to grow crops and raise fish. The ride teaches guests about sustainability, the importance of balancing human needs with the environment, and the creative ways we can produce food for the future.
Hydroponics are a method of growing plants without soil. Instead of getting nutrients from dirt, the plants grow in a nutrient-rich water solution that provides everything they need such as nitrogen, phosphorus, potassium, and other minerals. The plant roots are either suspended directly in the water or supported by materials like sand, gravel, or clay pellets that hold them in place. This system allows for precise control of nutrients, light, and temperature, which helps plants grow faster and use less water than traditional farming. Because hydroponic systems can be used indoors or in greenhouses, they’re ideal for places with poor soil or limited space.
Family Traditions Reimagined
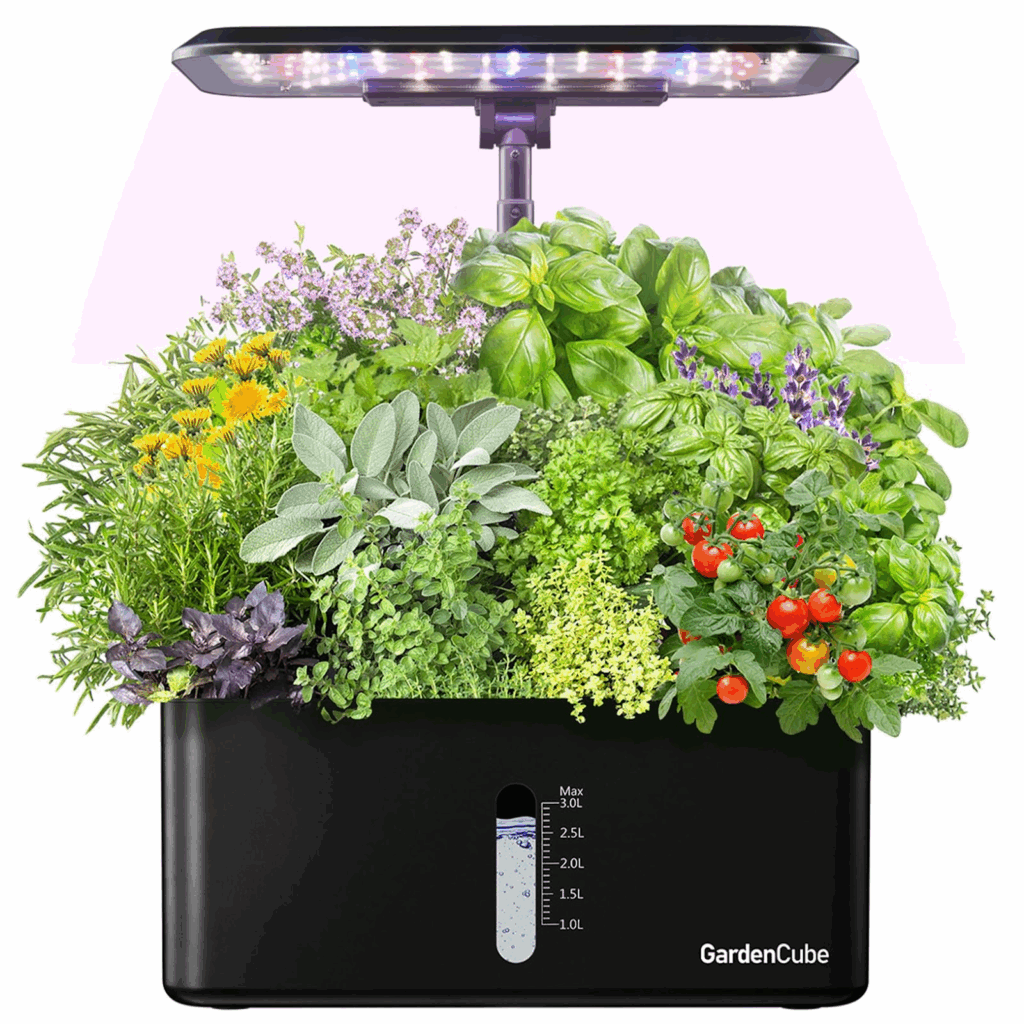
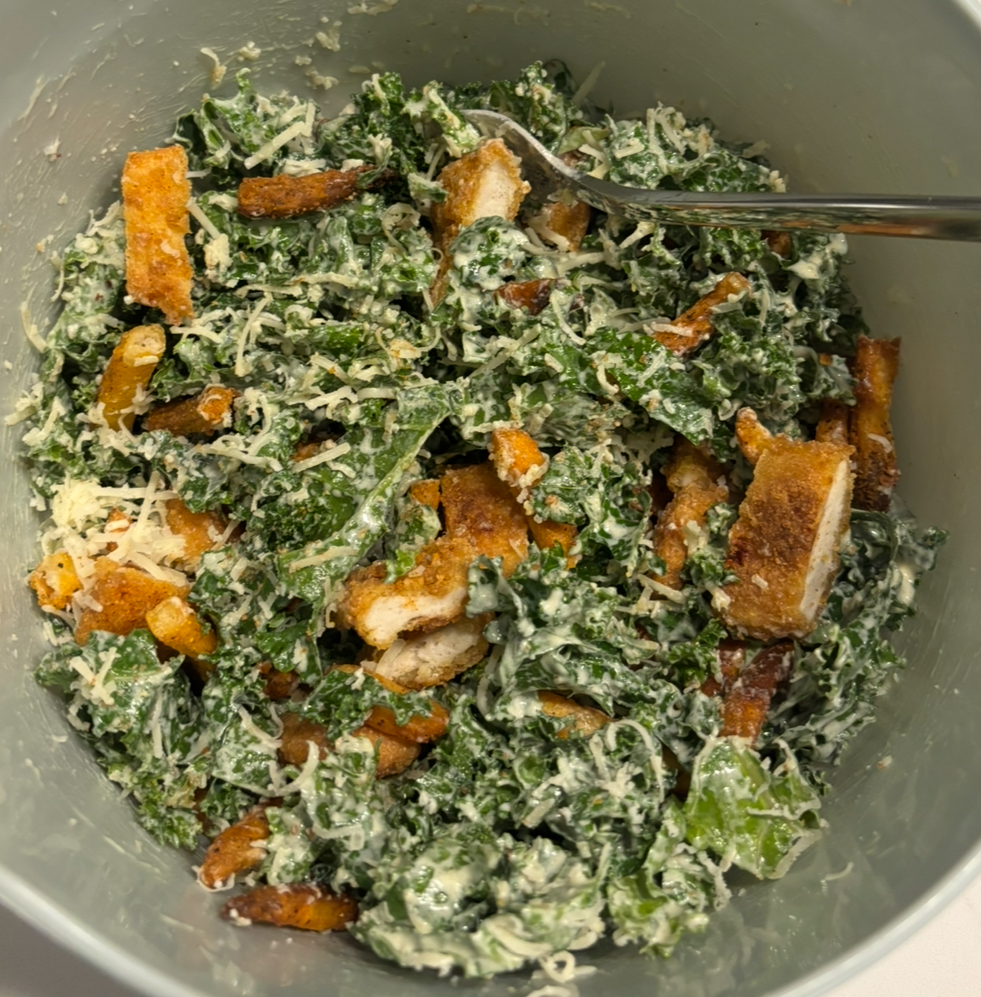
My mom’s Caesar salad has always been a family favorite, and now I’ve given it a sustainable twist. Inspired by Living with the Land at EPCOT, my boyfriend and I started a small hydroponic garden where we grow our own romaine and kale. Using home-grown greens makes the salad taste even fresher, and hydroponics lets us grow food year-round while using less water. I hope to start growing my own lemons and garlic next, which are two key ingredients in the dressing. Each time I make it, I feel connected to my mom’s tradition while carrying it forward in a way that’s better for the planet.
The hydroponics that we bought off amazon.com My famous chicken kale caesar salad (my photo)
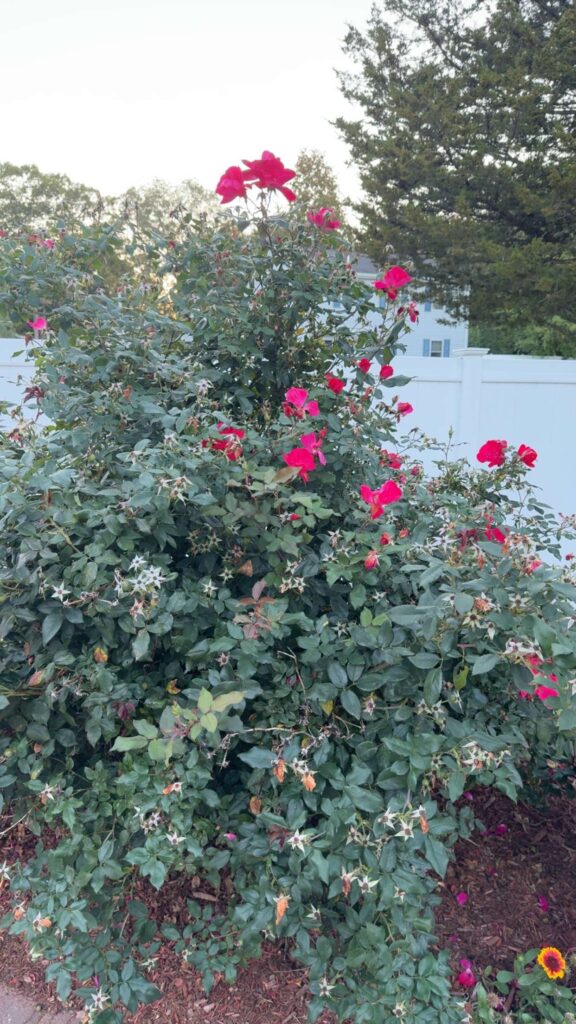
Around a flower, a tradition has grown in my family. The rose, my middle name, once belonged to my great-grandmother, Mary Rose. She was granted her name from her mother, who had a special relationship with her pink rose bushes from her home in Portugal. When she immigrated to the United States, it was to provide her children with new opportunities. My great-grandmother was then born a U.S citizen, having to navigate the hardships of being a first generation Portuguese-American and being far away from her parents’ native homeland. What brought her and her mother comfort were the rosebushes they planted in front of their new home in Massachusetts—mirroring the ones they had left behind in Portugal. Roses were one of the few things that bonded them together.
Photo By: Emma
It is the same tradition my grandmother, Mimi, has with me and my mom that stays in front of our home. For generations we’ve planted pink rose bushes in tribute to the women in our lives.
When I planted the roses with my Mimi and mom growing up, I listened to stories about their mothers and how special those moments were to them. It made me feel connected to the female relatives I had and lost. The roses connected us just as it connected them.
My Mimi is the gentlest, kindest woman I know. She’s soft spoken and introverted, yet speaks fiercely to the roses when she gardens. My mother and I are the opposite– my mom emphasizes using your voice, speaking up when something is upright, possibly because she had to defend both herself and her mother. I take after her in communication skills and being widely extroverted. Yet, when it comes to the garden, the two of us sheepishly step aside to let Mimi guide us through the process. If the garden is a classroom, then my mom and I are students, and my Mimi is the teacher.
Photo by: Emma Festa
What I especially appreciate about roses is that even when their petals fade and their pretty features are gone, they still carry meaning after they’ve passed, like the stories of growing them or the gift of a bouquet to a loved one. Those are the same memories I carry with me of my great-grandmother, even after she grew old and died, her legacy in our family continues to travel through our storytelling. While she may be gone, she still carries so much meaning to our home. Mary Rose gave me the Rose I will carry in my name until I too am gone. Mimi gave me the stories and traditions I will cherish forever. Roses gave us the shared tradition that bonded six generations of vastly different women together.
Over the past twelve months, I have really been trying to live a healthier lifestyle and eat a cleaner & more nutrient dense diet. Most importantly with this change, I have started to eat what I would call an 80/20 diet, meaning that 80% of my diet consists of whole, unprocessed foods, while the other 20% I leave for meals out, treats, etc. As a general rule of thumb, it is recommended that with this diet, 80% of what you’re eating is made up of vegetables, whole grains, dairy, and protein, leaving the remaining 20% for enjoying yourself within reason, like with a glass of wine or some ice cream. It is crucial to still allow yourself to have foods you crave in moderation, even if they are not clean/unprocessed, as restricting yourself too much and cutting them out completely can be just as unhealthy as eating too much of these foods. Several studies have shown that progress is better than perfection, and too extreme in either direction is unhealthy. This allows me to lead a balanced lifestyle without restricting myself of anything I may want, like a juicy cheeseburger with fries or a cold and crispy glass of white wine, while still focusing on eating as clean and unprocessed as possible.
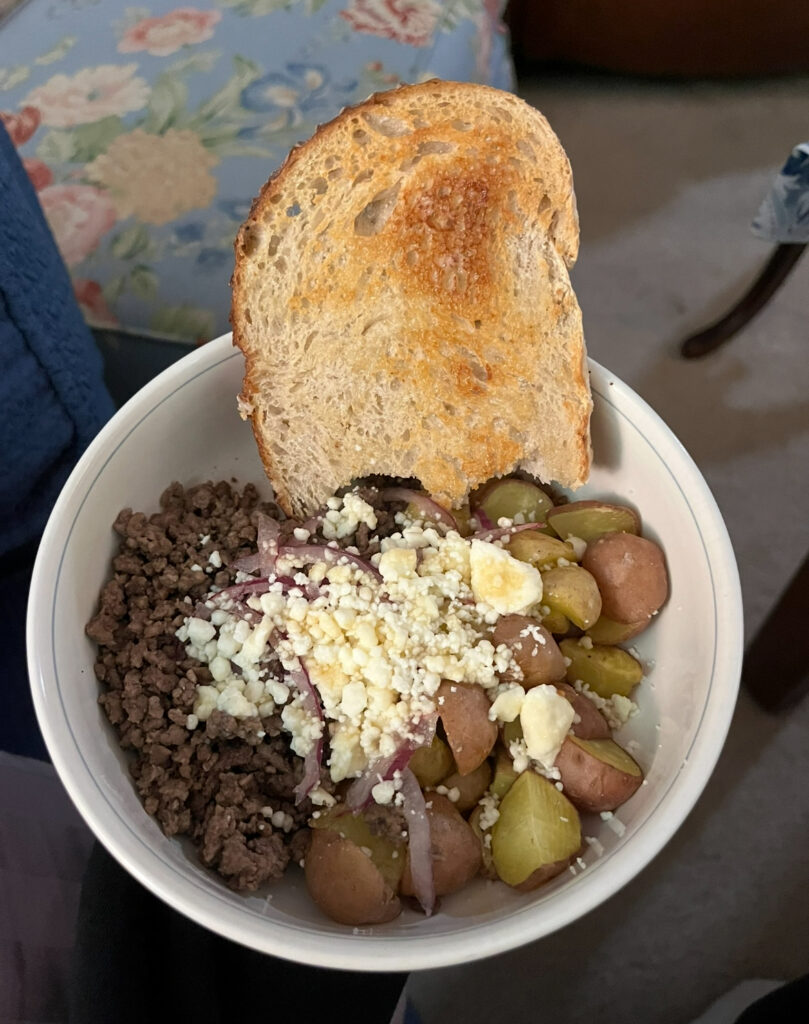
How to build a balanced meal: to build a healthy and balanced meal, I always like to make sure that I have multiple types of macronutrients on my plate. These include protein, carbs, and fats. One way I really enjoy doing this is to simply build what I call a “nourish bowl” and customize the ingredients to anything I want or have on hand. One of my favorite variations of this includes ground beef for my protein, air fried potatoes for my carb, feta or another type of cheese for healthy fats, and then any other toppings I want! I often include chopped up tomatoes & onions and then drizzle honey on top. Sometimes I add a slice of buttered sourdough for additional nutrients!
A nourish bowl I made with ground beef, potatoes, red onions, feta, honey, & a slice of sourdough with butter
Photo by Johanna Nathman
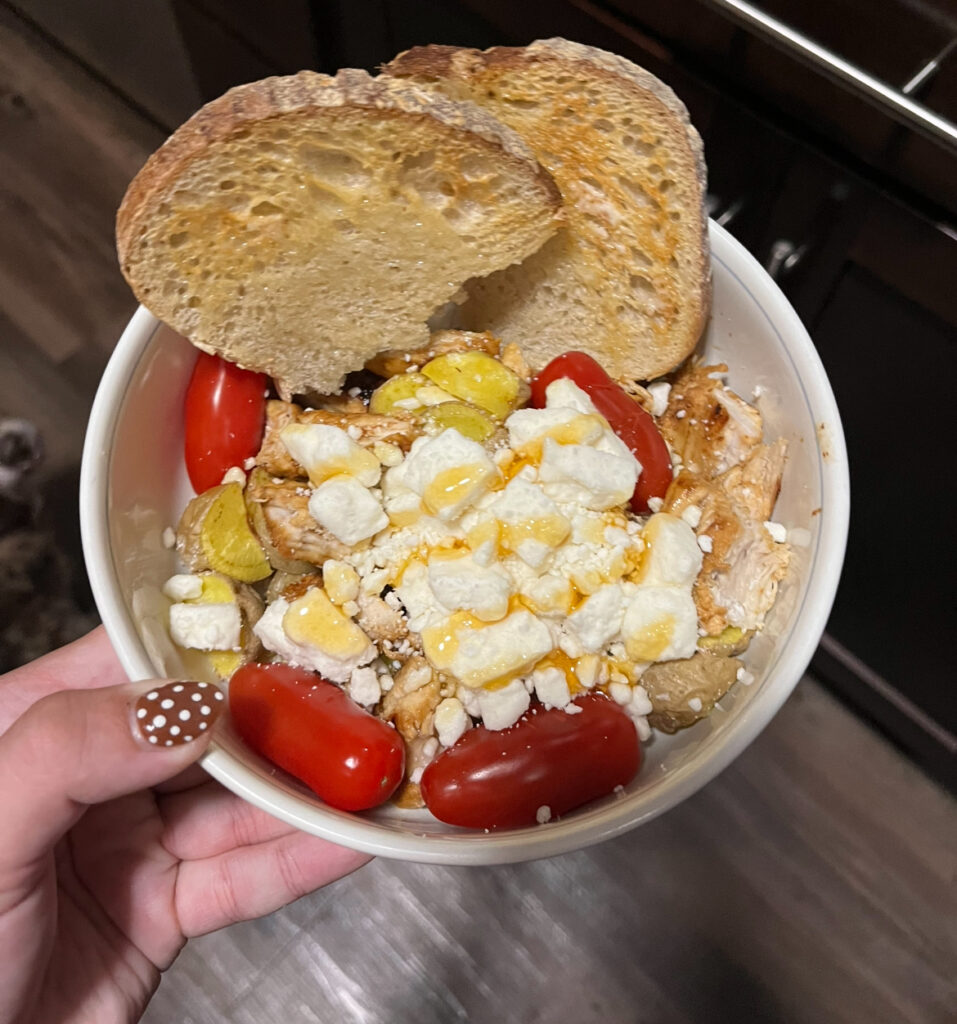
Since making these lifestyle changes, I have noticed such a difference in my overall wellbeing. I’m no longer bloated, my energy levels are so much better, and I no longer feel hungry or like I need to snack between meals—when you eat nutrient dense foods and meals, you feel so much more satiated and stay fuller longer. Since eating this way, these are now the foods I crave instead of craving ultra-processed foods, and my food noise has completely disappeared. I would encourage anyone to start eating cleaner and more whole foods as it has truly made such a difference in my life!
Photo by Johanna Nathman
Another nourish bowl made with grilled chicken, potatoes, feta, tomatoes, honey, & sourdough with butter
Sources:
All about the 80-20 diet. (n.d.). WebMD. https://www.webmd.com/diet/ss/slideshow-80-20-weekend-diet
Clinic, C. (2024, December 9). What is food noise? and how to quiet it. Cleveland Clinic. https://health.clevelandclinic.org/food-noise-and-how-to-stop-it
Spend, E. (2022, August 2). 4 signs your restrictive diet is doing more harm than good. BodyBio UK. https://bodybio.co.uk/blogs/blog/restrictive-dieting?srsltid=AfmBOooPEcZILs3HumV8-qI2MNb6uSiNcwOz2WlJ7-2i3J38i3Tp71hc
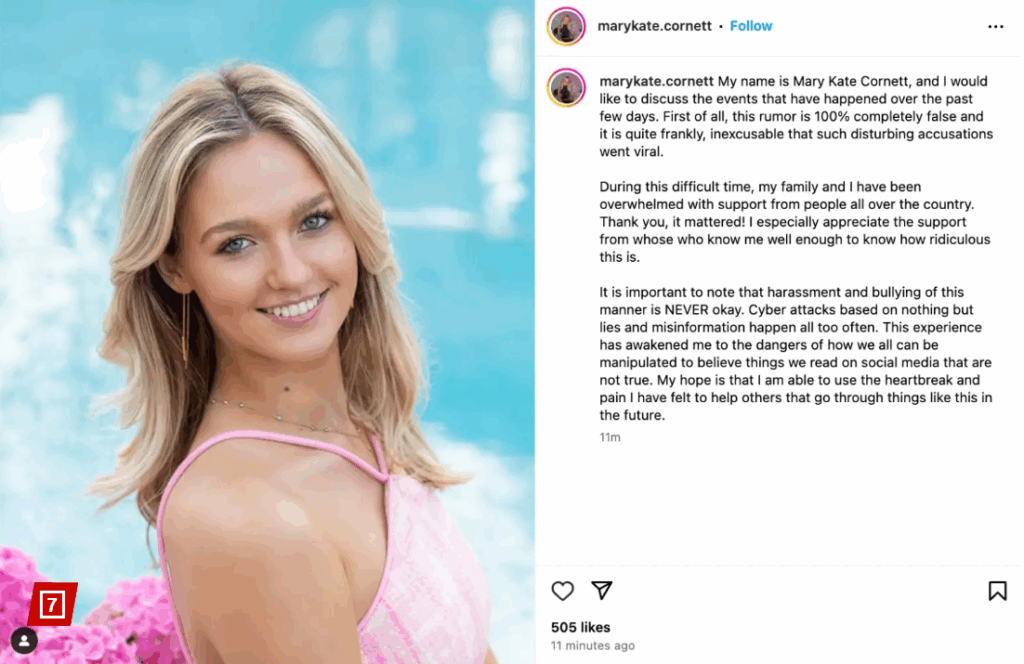
Mary Kate Cornett’s statement on her Instagram account following the spread of the rumor about her being circulated online
NBC Interview by Mary Kate Cornett where she talks about how the online rumor has impacted her
Major Media Companies Need to do Better
This sorta thing is nothing new for Barstool Sports, who are always commenting on viral trends and stories and find themselves in controversy constantly for their crude and borderline misogynistic takes. Pat McAfee, who is employed by ESPN, is not known for engaging in this type of content and it was really surprising to see an extremely popular personality of there’s acknowledge the rumor, never mind offer discourse about it. Not that ESPN hasn’t ever had a false report before, it happens to all news sites who report large quantities of news. But to be entertaining a rumor that has nothing to do with your core of being a predominately sports news outlet is pretty reckless. These companies have to have better self awareness as to the size of their audiences and the ramifications their content has. I understand that both Barstool Sports and Pat McAfee are more for entertainment of their audiences than actual news reporting, but as we saw with Mary Kate, the things they choose to talk about get a lot of attention. That requires them to be more careful about what they choose to make/create content about. In this case they took an online rumor, gave it millions of eyes, and caused an innocent girl unwarranted personal attacks, emotional distress, and probably life long trauma from the incident. There is a fine line between entertainment and unethical journalism. Yes, to a degree you have to find topics and stories that you think your audience will find interesting and engaging but at the same time, you can’t overlook the impact you are going to have on the individual/individuals that are at the center of the topic. Especially when it comes to online rumors with as sensitive of a topic as Mary Kate’s. For no reason other than million’s of peoples entertainment her name and character were dragged through the mud and it was in large part due to the roles major media outlets and personalities played in distributing the rumor to their large audiences. It is something that no apology can fix and because of Barstool Sports and ESPN, a 19 year old girls life will never be the same.
In today’s 24/7 media world, professional athletes are no longer just sports figures. These athletes have become celebrities, influencers and public brands. This brings the question, where should the line be drawn between public interest and personal privacy? The tension between these two concepts now presents a difficult ethical dilemma for journalists, fans, and sports organizations.
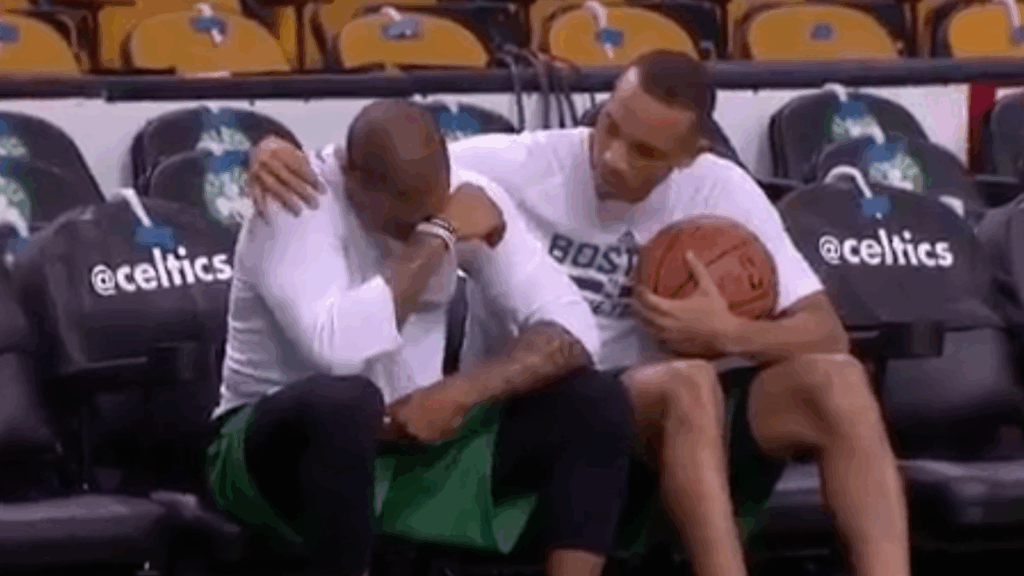
Avery Bradley comforting Isaiah Thomas after tragic news of his sister passing away in 2015. (Photo from Business Insider).
During the NBA playoffs in 2017, you can see Isaiah Thomas being recorded as he has a very emotional moment with his teammate Avery Bradley. Thomas, who was the engine for the Boston Celtics in 2017, tragically received news of his sister passing away in a car accident the day before one of the biggest games of his career. Now as he struggled and was taken in by teammates, you can still see the media made sure to record him and get their story in as soon as possible.
The Blurred Line Between Private Life and Public Persona
Athletes often operate in highly visible roles, and many willingly share parts of their lives on social media or through brand partnerships. But does public status eliminate the right to privacy?
Ethics scholars argue no. According to the Society of Professional Journalists’ Code of Ethics, journalists should “balance the public’s need for information against potential harm or discomfort” and show compassion “for those who may be affected by news coverage” (SPJ Code of Ethics, 2014).
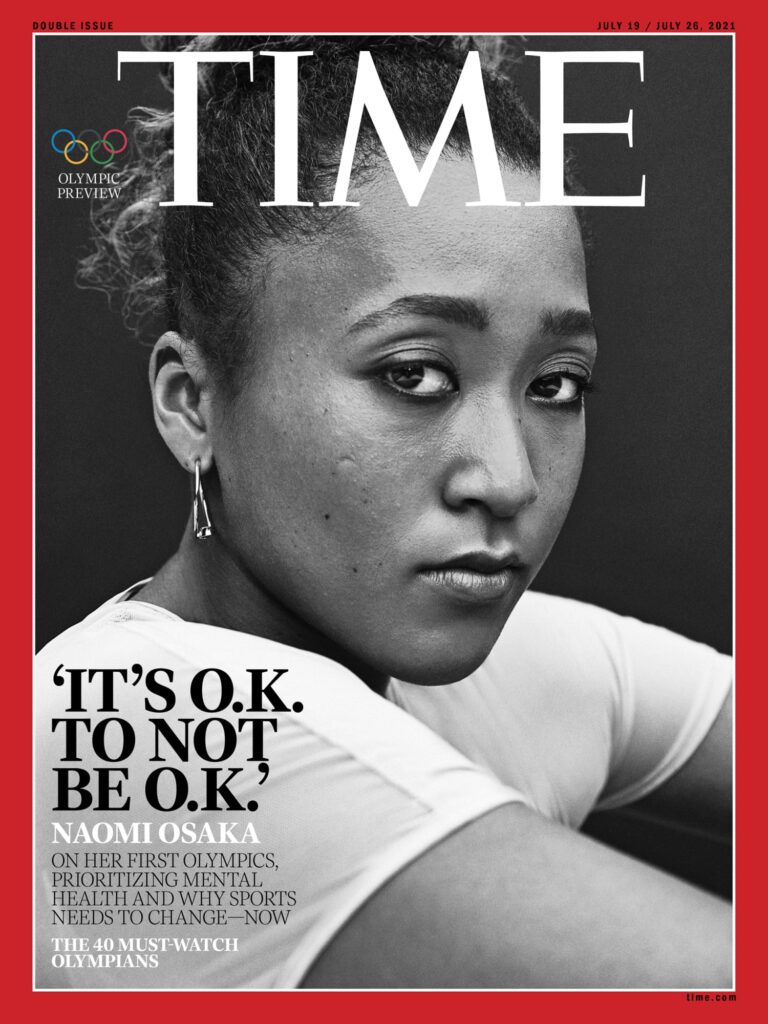
For example, Naomi Osaka’s decision to withdraw from the 2021 French Open due to mental health concerns prompted a wave of media scrutiny and fan backlash. Some journalists and commentators criticized her silence while others supported her effort to manage her mental health without public explanation. (Paraphrase from Shapiro, 2021). Osaka herself said, “It’s OK to not be OK,” reminding the world that mental health is deeply personal. Even for public figures (Time Magazine, 2021).
Naomi Osaka on the cover of TIME magazine, using her platform to speak out about mental health and the pressures faced by athletes in the public eye. (Time Magazine, 2021).
When Is Coverage in the Public Interest
Journalists often justify invasive coverage by citing “the public’s right to know.” But not everything the public wants to know is necessarily in the public interest.
Take the case of Tiger Woods. In 2009, his personal scandal involving infidelity was shown across headlines globally. Media outlets justified their coverage by linking his image to his sponsorships and moral branding. Despite strong efforts, critics still questioned if this was too much and over the line (Zakarin, 2020).
Ethically, journalists must look at the relevance of a private issue to a subject’s public role. If an athlete’s personal choices directly impact their performance, health, or team dynamics, coverage may be justified. But if not, the line into exploitation becomes a lot more clear.
Social Media and Consent
Nowadays, athletes often share personal updates directly with fans. This creates a unique situation where content is voluntarily public but still deserves some type of ethical consideration in how it’s interpreted.
A viral example, gymnast Simone Biles sharing her withdrawal from Olympic events due to a dangerous mental block that could potentially cause injury. Her transparency created global conversation, but brought in lots of criticism. Reporters who reused her personal posts in articles had to navigate the question of implied consent. Just because something is shared on social media, does not mean it can not be used without ethical judgement (Maine, 2021).
Conclusion
Wrapping this post up, it is clear that athletes are being invaded of their privacy daily and it is something that should be talked about more. Efforts to bring more of a clear ethical rule book has had some success, but we are definitely still not where we need to be.
“SPJ’s Code of Ethics.” Society of Professional Journalists, Society of Professional Journalists Society of Professional Journalists Improving and protecting journalism since 1909, 2014, www.spj.org/spj-code-of-ethics/