Written by: Shannon Flaherty
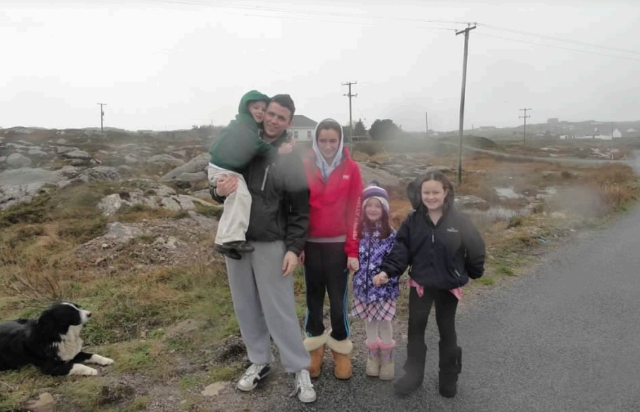
Every year, I go back to the house my father, the youngest of seven, grew up in on the western coast of Ireland. Our farm has now dwindled to only a few horses, a rooster, a dog, and a goat. The memories, however, are plentiful.
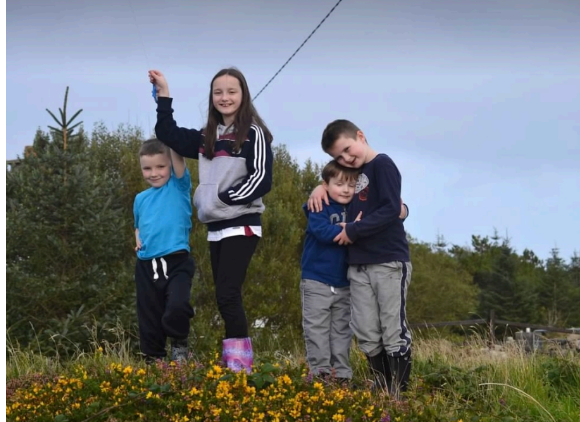
One of my fondest memories is the fits of giggling that filled the kitchen, the kind of giggling only the pure glee of children can elicit, on a drizzly afternoon. My cousins and I sat around the table with grilled cheeses and apple slices. My younger brother asked the question that has at one point or another consumed the thoughts of many children— “Will an apple tree grow in my belly if I eat the apple seeds?”
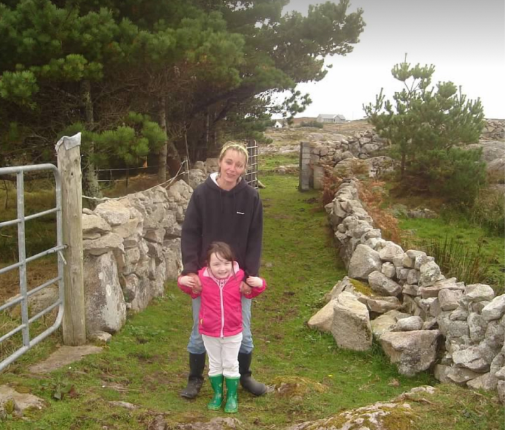
After offering enough reassurance that my brother finished his lunch, we wiped off our chocolate milk mustaches and set out to prove to him that the apple seeds would grow into big beautiful trees, but only when we put them in the soil. We took all of the apple seeds from our lunches and clomped over to the garden in our big heavy rain boots. Digging in the dirt with our hands, my aunt and her brigade of small children put the seeds in the ground. It was the first time I had ever planted something.
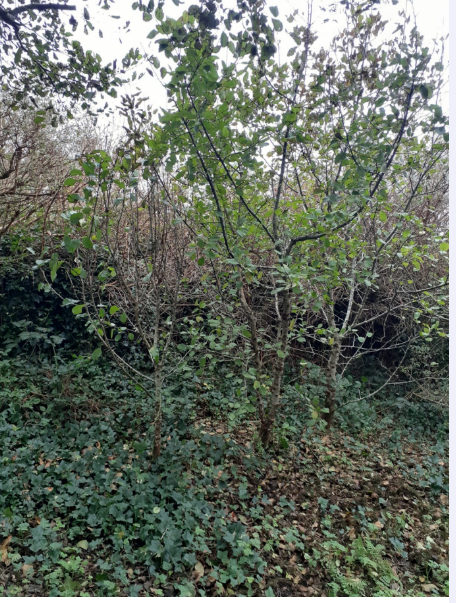
We let our apple seeds alone to grow in the garden with the rest of the wild things. It is like no time has passed at all on the return trip. But I know which playing cards have creases and that last year’s rain boots don’t fit anymore. After a long year away and much anticipation, we were disappointed to see that our apple trees were not sky high. Why did the apple trees have to grow so slowly?
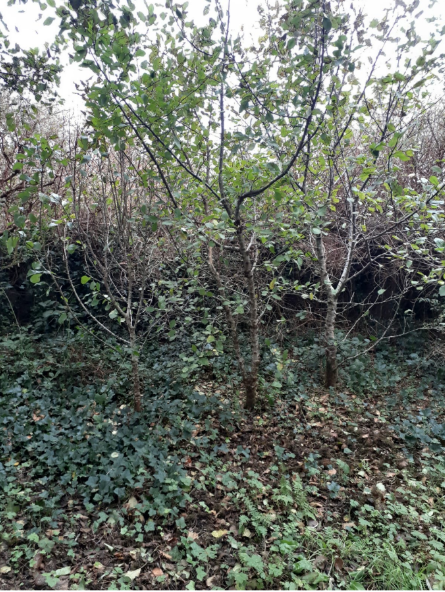
But now each year we are able to come back and see how much the trees have grown, how much we’ve grown, like the lines on a door frame. The trees might have grown slowly but my cousins, brothers, and I did not. It was the first tree I ever planted but it was not the first time I put roots down. My roots are in that country with my heart, my family, and with those apple trees.
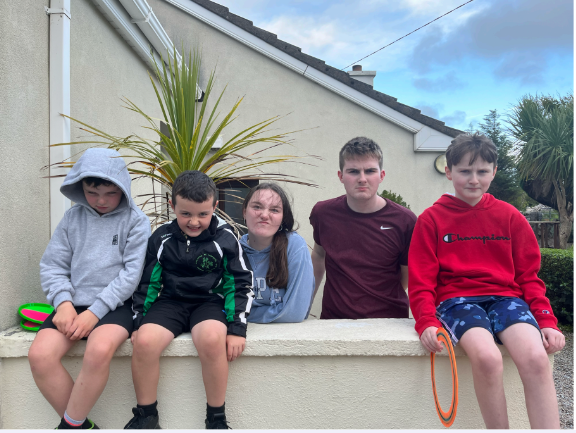
I’ve learned to appreciate things that grow slower and last longer as my baby brothers got taller than me and my cousin’s children begin to look like my cousins used to when we were all small together. The same fits of giggling fills the kitchen.
We planted something that will continue to grow a lot slower than we did, but it will grow as strong as our love for each other, and last even longer.
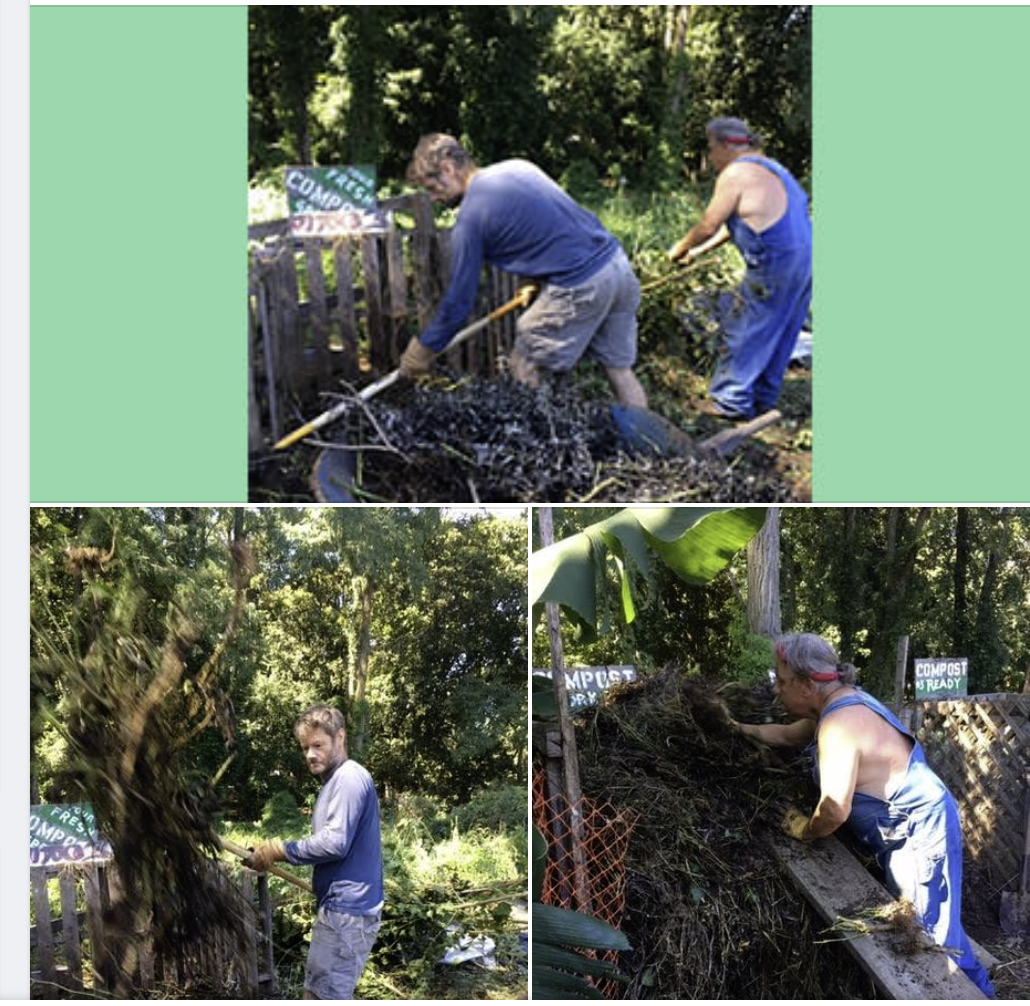
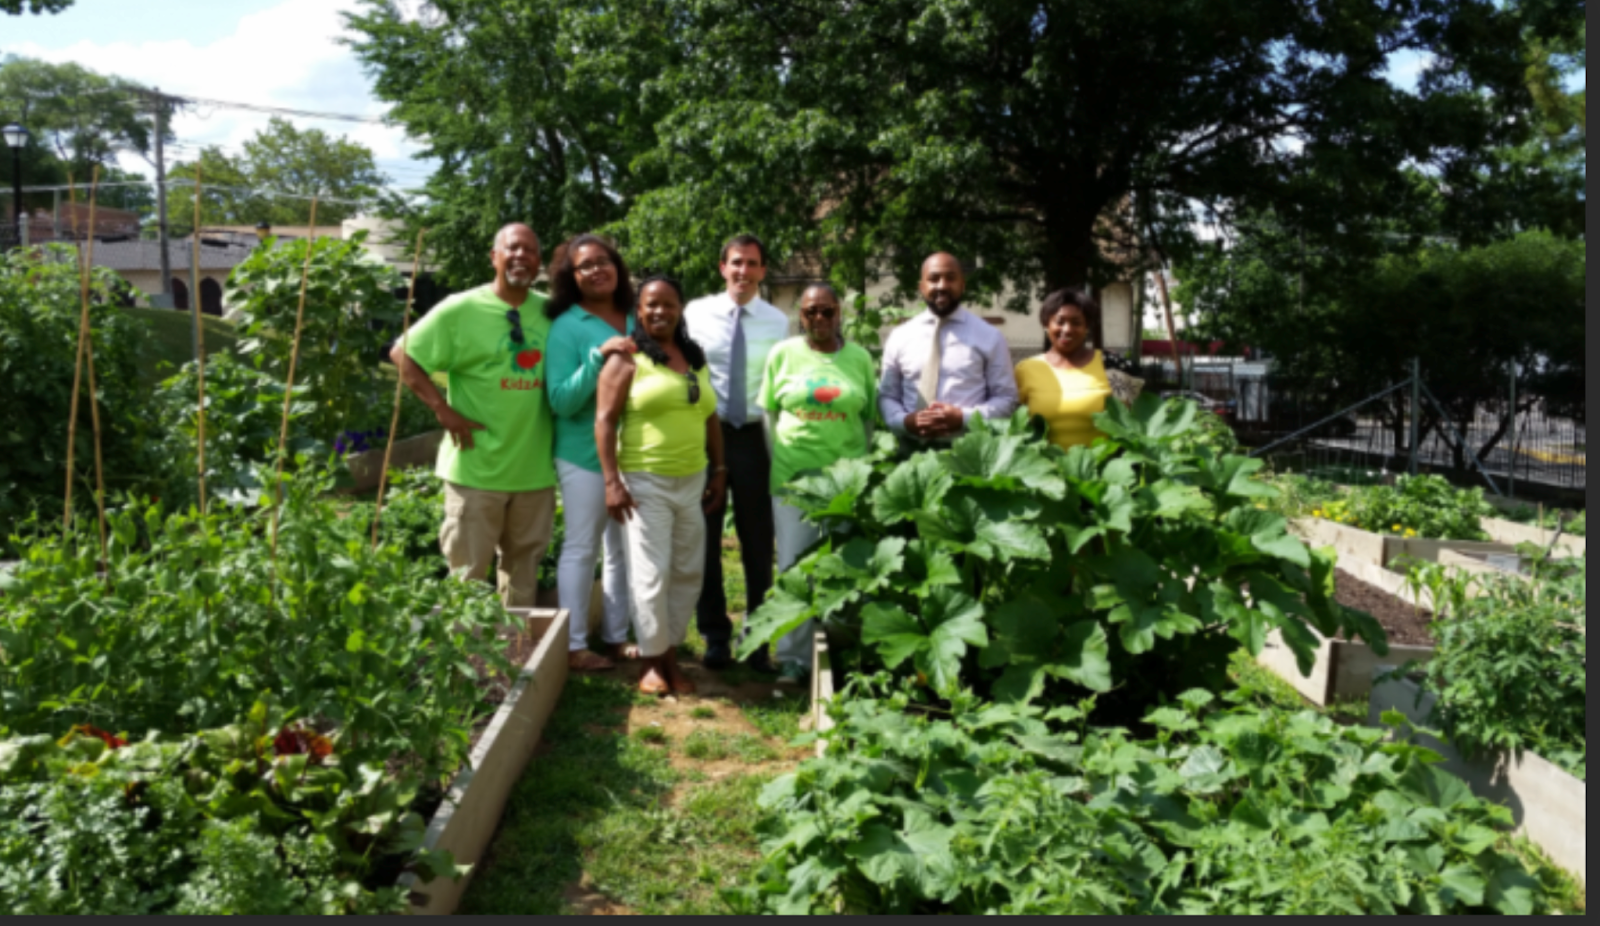
 Since that time, the garden has grown in the number of participants. People have also donated benches and artistic art sculptures. Many people now go there to sit, relax and observe our beautiful community garden!